...
Xerifleet
...
| Widget Connector | ||||||
|---|---|---|---|---|---|---|
|
Create From Template
Creating a form from a template is the easiest way to get started with Xerifleet.
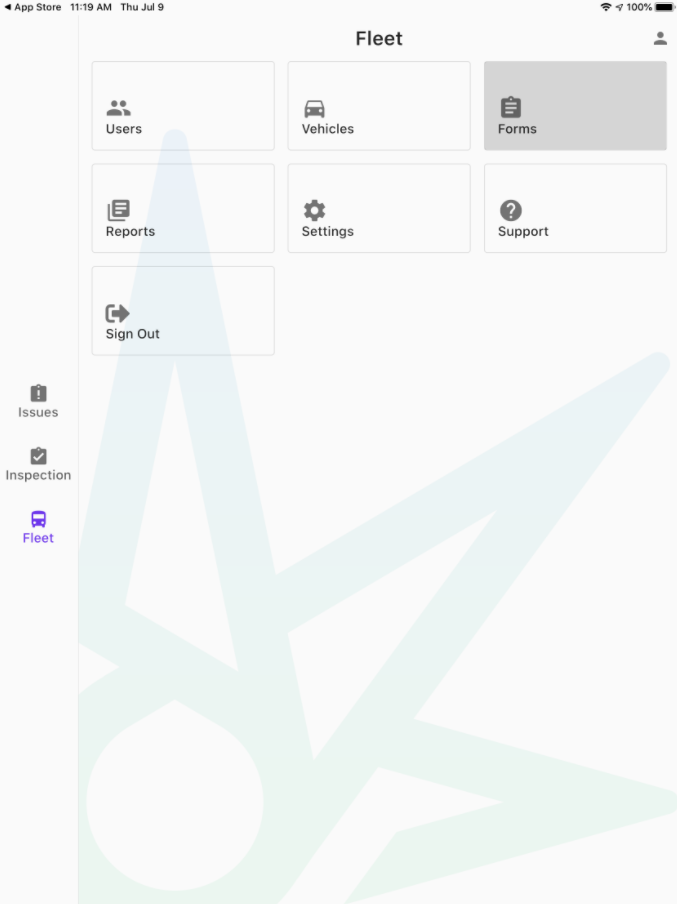
First, navigate to the Fleet Menu and select Forms.
Next, push the + button to add a new form.
...
A dialog appears, select the From Template option.
...
You should now see a selection of form templates. Pick one that suits your fleet best.
...
The selected form template opens. Give it a new name, make any adjustments you would like (see instructions below for how to do this) and tap save.
...
Create From Scratch
When you want to create a form that is exactly the way you want it, Xerifleet makes it easy to create your own form.
First, navigate to the Fleet Menu and select Forms.
...
Next, push the + button to add a new form.
...
A dialog appears, select the From Scratch option.
...
You should now see an empty form screen. Give your form a name and begin editing. See below for instructions and tips on editing forms.
...
Cloning Forms
A third way to create new forms is to clone a form that you already have. This is useful when you have certain vehicles which require a form that is nearly identical to others but which requires certain modifications. To Clone a form, press the “more options” button (3 vertical dots) and push Clone. The cloned form opens in a form editor screen. Simply make your adjustments and push SAVE.
...
Editing Forms
Xerifleet form items are organized into sections. Before you begin adding form items, you must first add your first form section. Push the ADD SECTION button and give your first section a name and tap SAVE.
...
You will now be back on the form screen where you can see the section you just created. You now have an ADD ITEM button visible on that form section header. Tap ADD ITEM.
...
Two types of form items: Pass/Fail & Numeric
Xerifleet currently offers two types of form items: Pass/Fail & Numeric. By default, new items are Pass/Fail as we have found this to be the most common case. To switch the item type, tap the drop-down on the screen titled Type.
...
Both issue types allow drivers to enter in notes and add photos.
Pass/Fail
Use a pass/fail item when you only need to know whether the condition of the component under inspection is satisfactory.
Pass/Fail items also have an available checklist feature that may be useful when the component under inspection has a number of very specific points to check. For example, individual instruments in an instrument cluster may be easy to represent as checklist items. When your driver marks checklist items as failed, the resulting issue includes the individual checks that failed in the issue details. This provides more detailed information to you which helps your mechanics diagnose issues faster.
To add checklist items, simply tap on the open text entry in the checklist section and start typing.
...
Once you have given this checklist item a name, press the Done button on the keyboard and the item will be added to the list.
...
Repeat this process for as many checklist items that you need.
...
You can remove checklist items and also adjust the order of the items by tapping on the “more” menu (3 vertical dots) to the right of each checklist item.
...
Important Tip: If you find that you are adding a large number of checklist items, you may want to consider dividing the inspection item into multiple items.
Numeric
Use a numeric item when you need your driver to provide a numeric value as part of their inspection. You might ask for tire pressure or tread depth.
...
Assigning Vehicles
Before you can use your new form in an inspection, you must first assign the form to your vehicles. You may wish certain forms to apply to specific vehicles and this is where you go to control that.
At the top of the Inspection Form screen, just below the Form Name, there is a row titled Vehicles. The row provides the count of vehicles that have this form assigned. Tap this row to configure vehicle assignments.
...
The vehicle assignment screen lists all vehicles and shows which ones are currently assigned. Make your selections and push the “check” button at the top right to return to the form screen. Be sure to also push the “SAVE” button to persist any changes you may have made.
...
Saving your work
Once you are done editing your form item, tap SAVE and you will be returned to the inspection form screen.
Sample Inspection Form Items
The following image is a preview of what our sample inspection form items look like when performing a real inspection. Notice section headers: “EXTERIOR” and “INTERIOR” which we added to the form. Also notice that the first item includes the checklist, while the second item demonstrates the numeric item type.
...
Tips For Editing Forms On Mobile Devices
While we understand that mobile phones and tablets are not ideal for large amounts of data entry, the truth is that nobody likes to do data entry regardless of where it is done. The primary focus of our energy is not to make great data entry experiences, our focus for Xerifleet is to find new and innovative ways to make tedious things like data entry just go away so that you can spend your time making real progress in your fleet. For example, creating forms from templates is a way to avoid data entry altogether. But if you do need to do a lot of editing on your forms, we have found a few tricks that make the experience easy and effective.
Voice Input
Both Android and iOS come with great Speech-to-text systems that integrate seamlessly with Xerifleet. We have found good success dictating the content of inspection forms using these voice input tools.
| Widget Connector | ||||||
|---|---|---|---|---|---|---|
|
Cloning Existing Forms
Xerifleet allows you to clone forms that you already have. Using this tool you can create alternate versions of forms that are customized for certain other vehicles.now RTA Inspect, please see the details of this knowledge base page here: https://docs.rtafleet.com/rta-manual/rta-inspect/how-do-i-add-an-inspection-form-in-rta-inspect%253F/