The RTA Inspect Integration currently supports the following functions:
Vehicle sync link from RTA to RTA Inspect
Issue sync from RTA Inspect back to RTA, and resolution/assignment statuses from RTA to RTA Inspect
Prerequisites
Before configuring the RTA Inspect Integration, ensure you meet the following prerequisites:
You are on the RTA SaaS Subscription which provides access to the APIs that make this integration possible.
You have configured the Driver Reports module in RTA and are ready to start receiving and reviewing driver-submitted issues.
| Widget Connector | ||||||
|---|---|---|---|---|---|---|
|
For the next step on linking Vehicles, please see:
How do I add vehicles in RTA Inspect?
Setting up the Integration
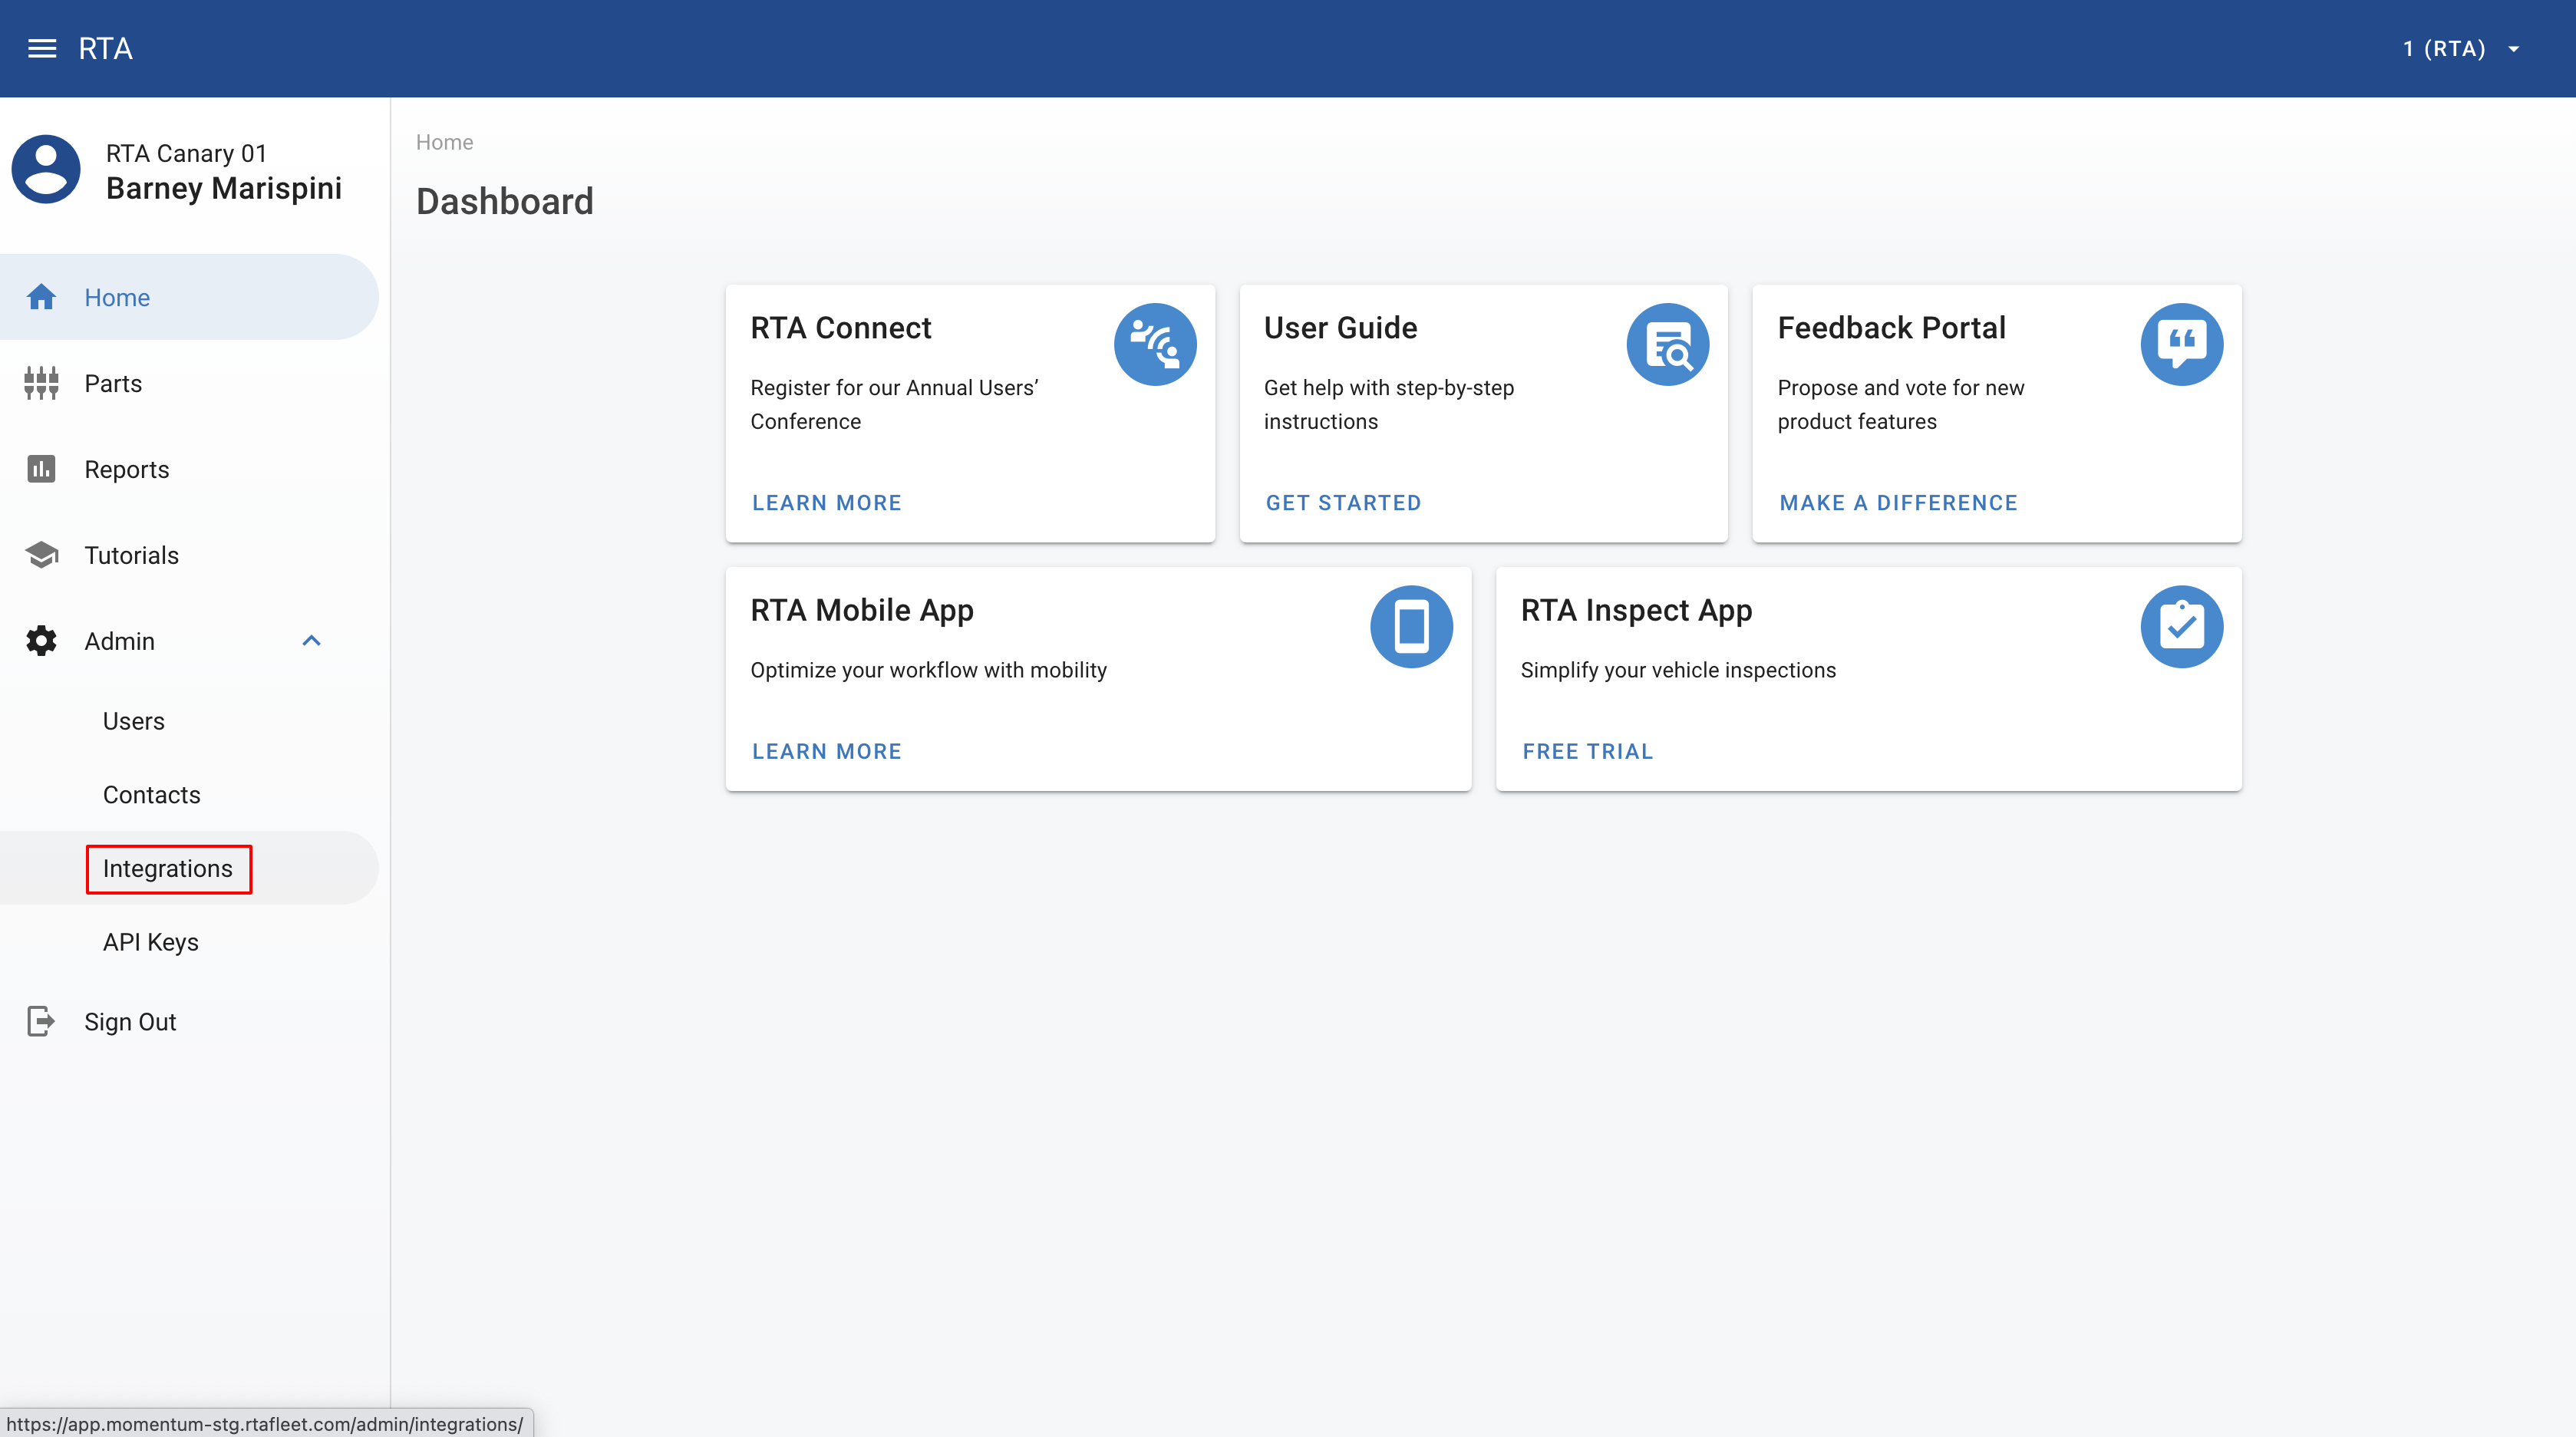
Log into the RTA Web App
Click the “Admin” link in the sidebar

Click the “Integrations” link in the “General” card

option
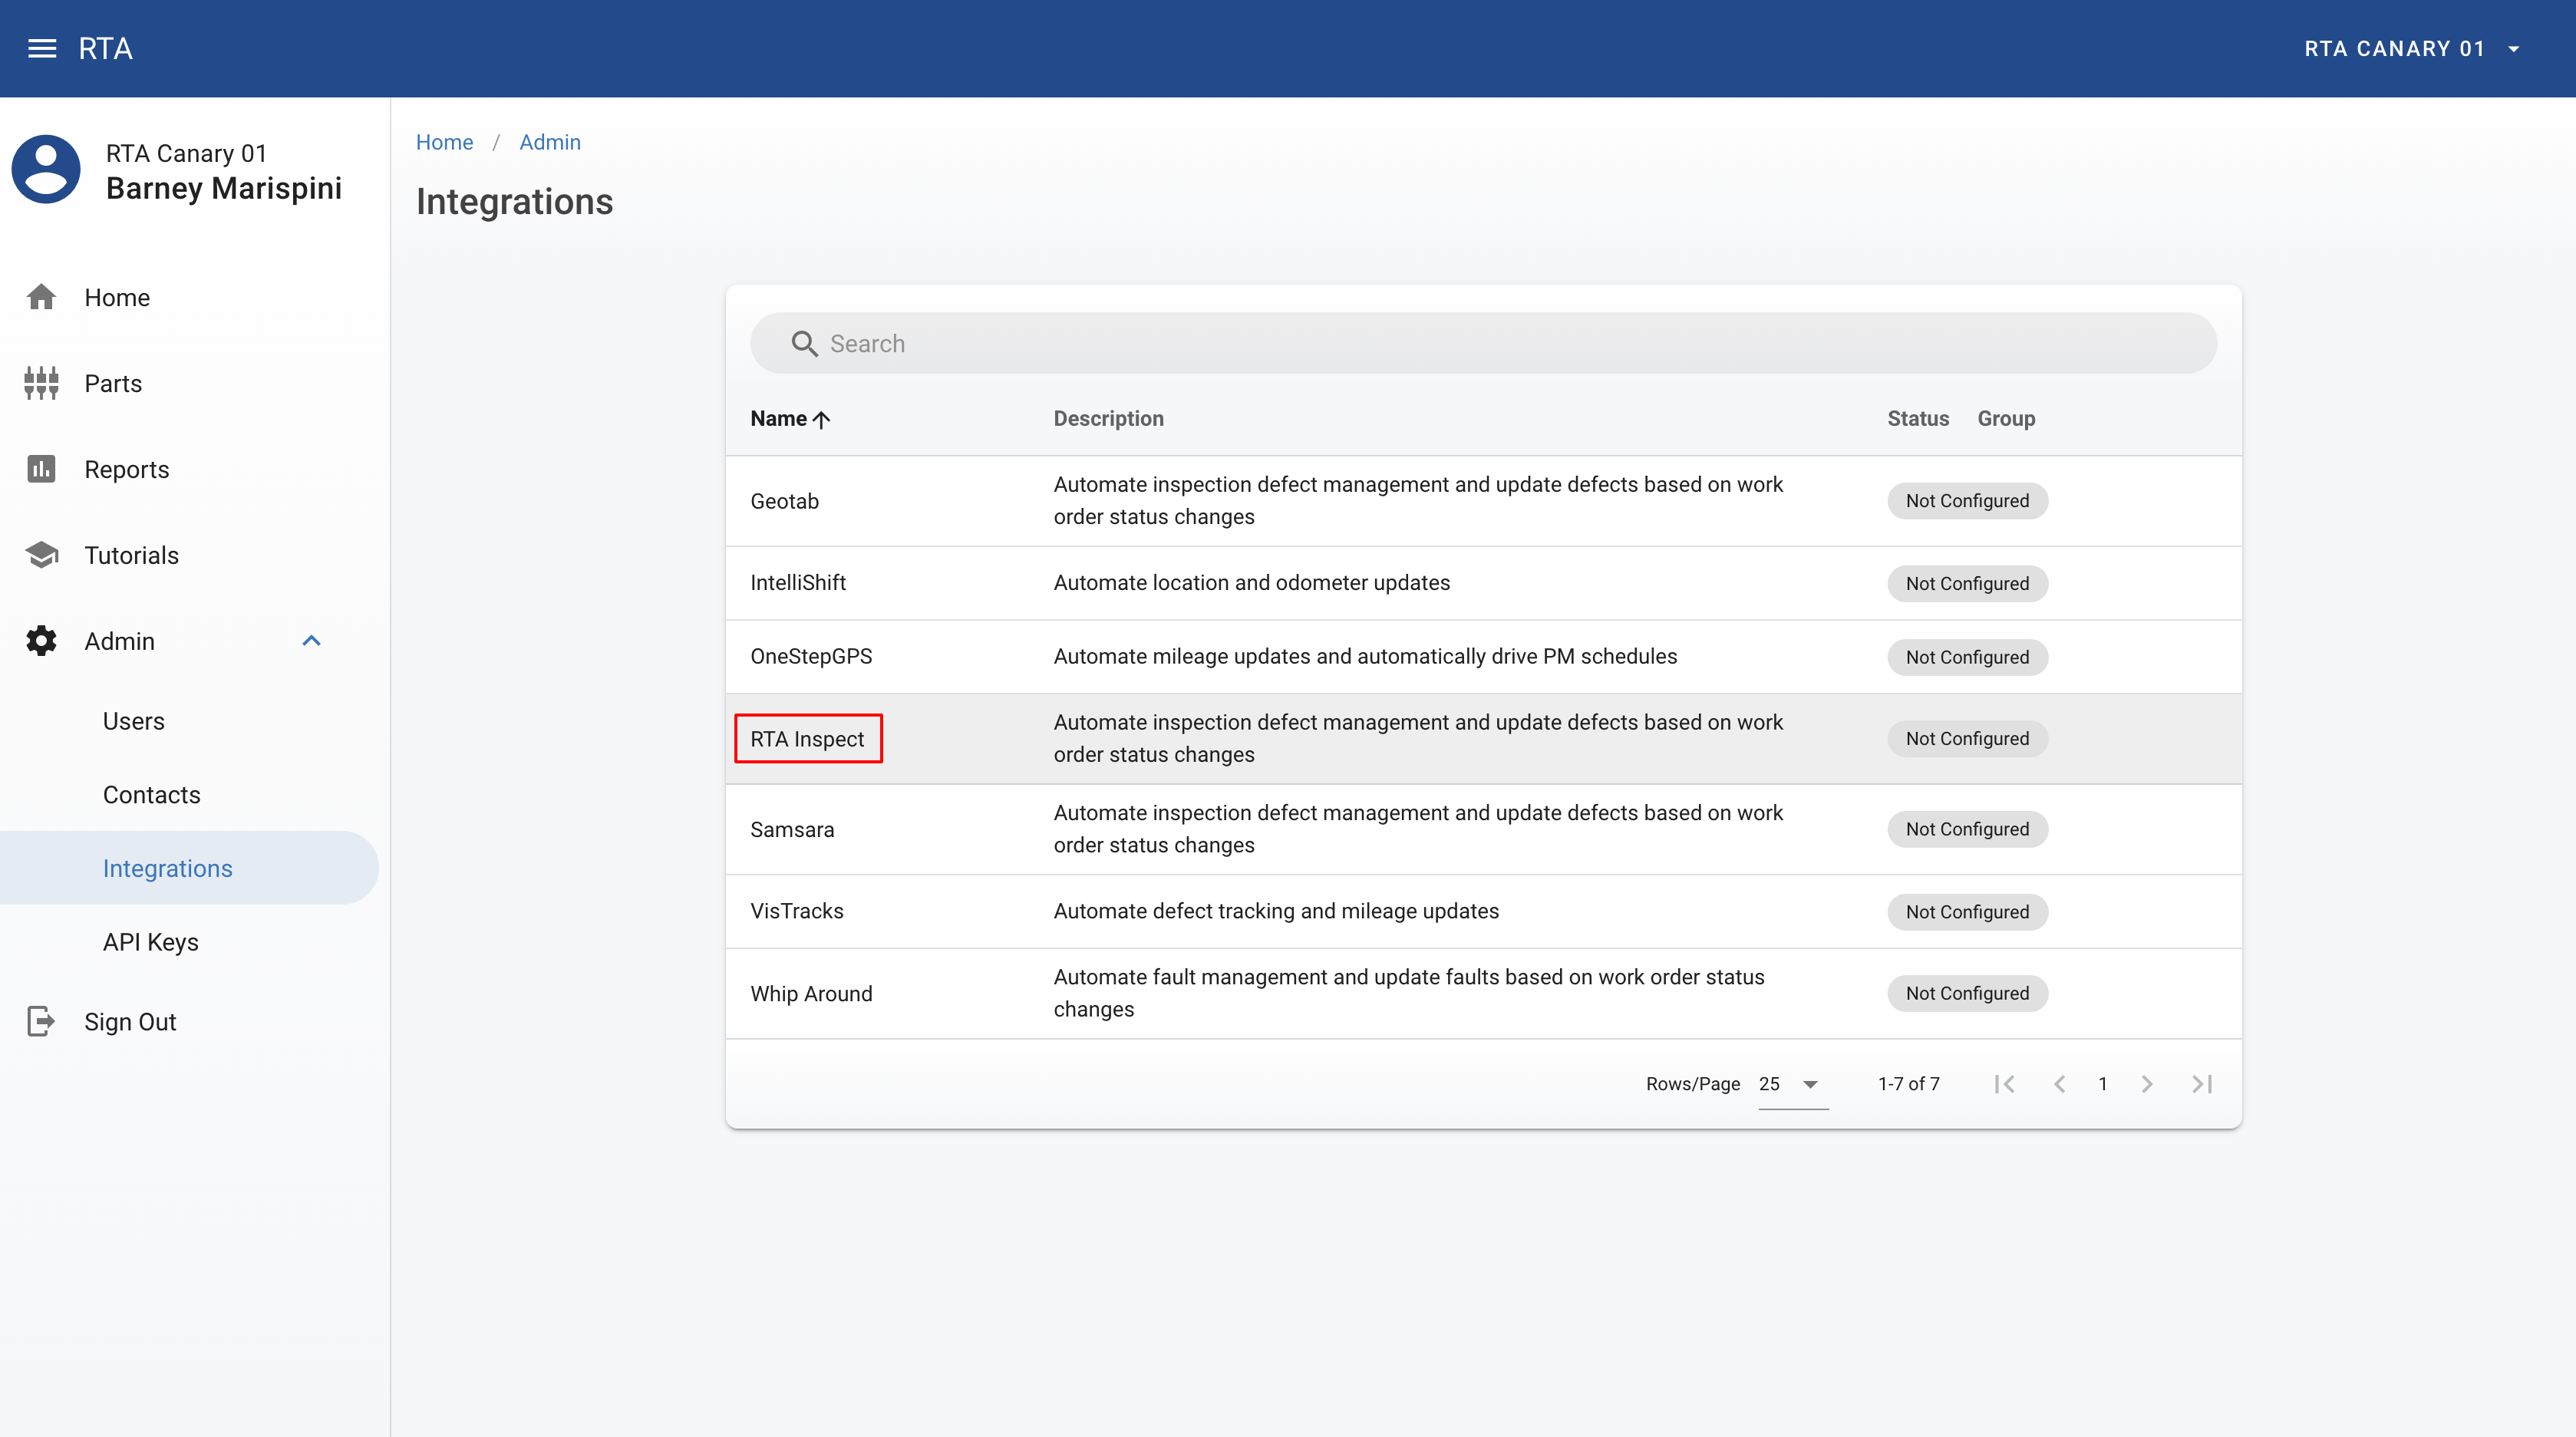
Click the “Manage” link in the “RTA Inspect” cardline

Click the “Create/Link” “Add” button on the center top-right of the screen

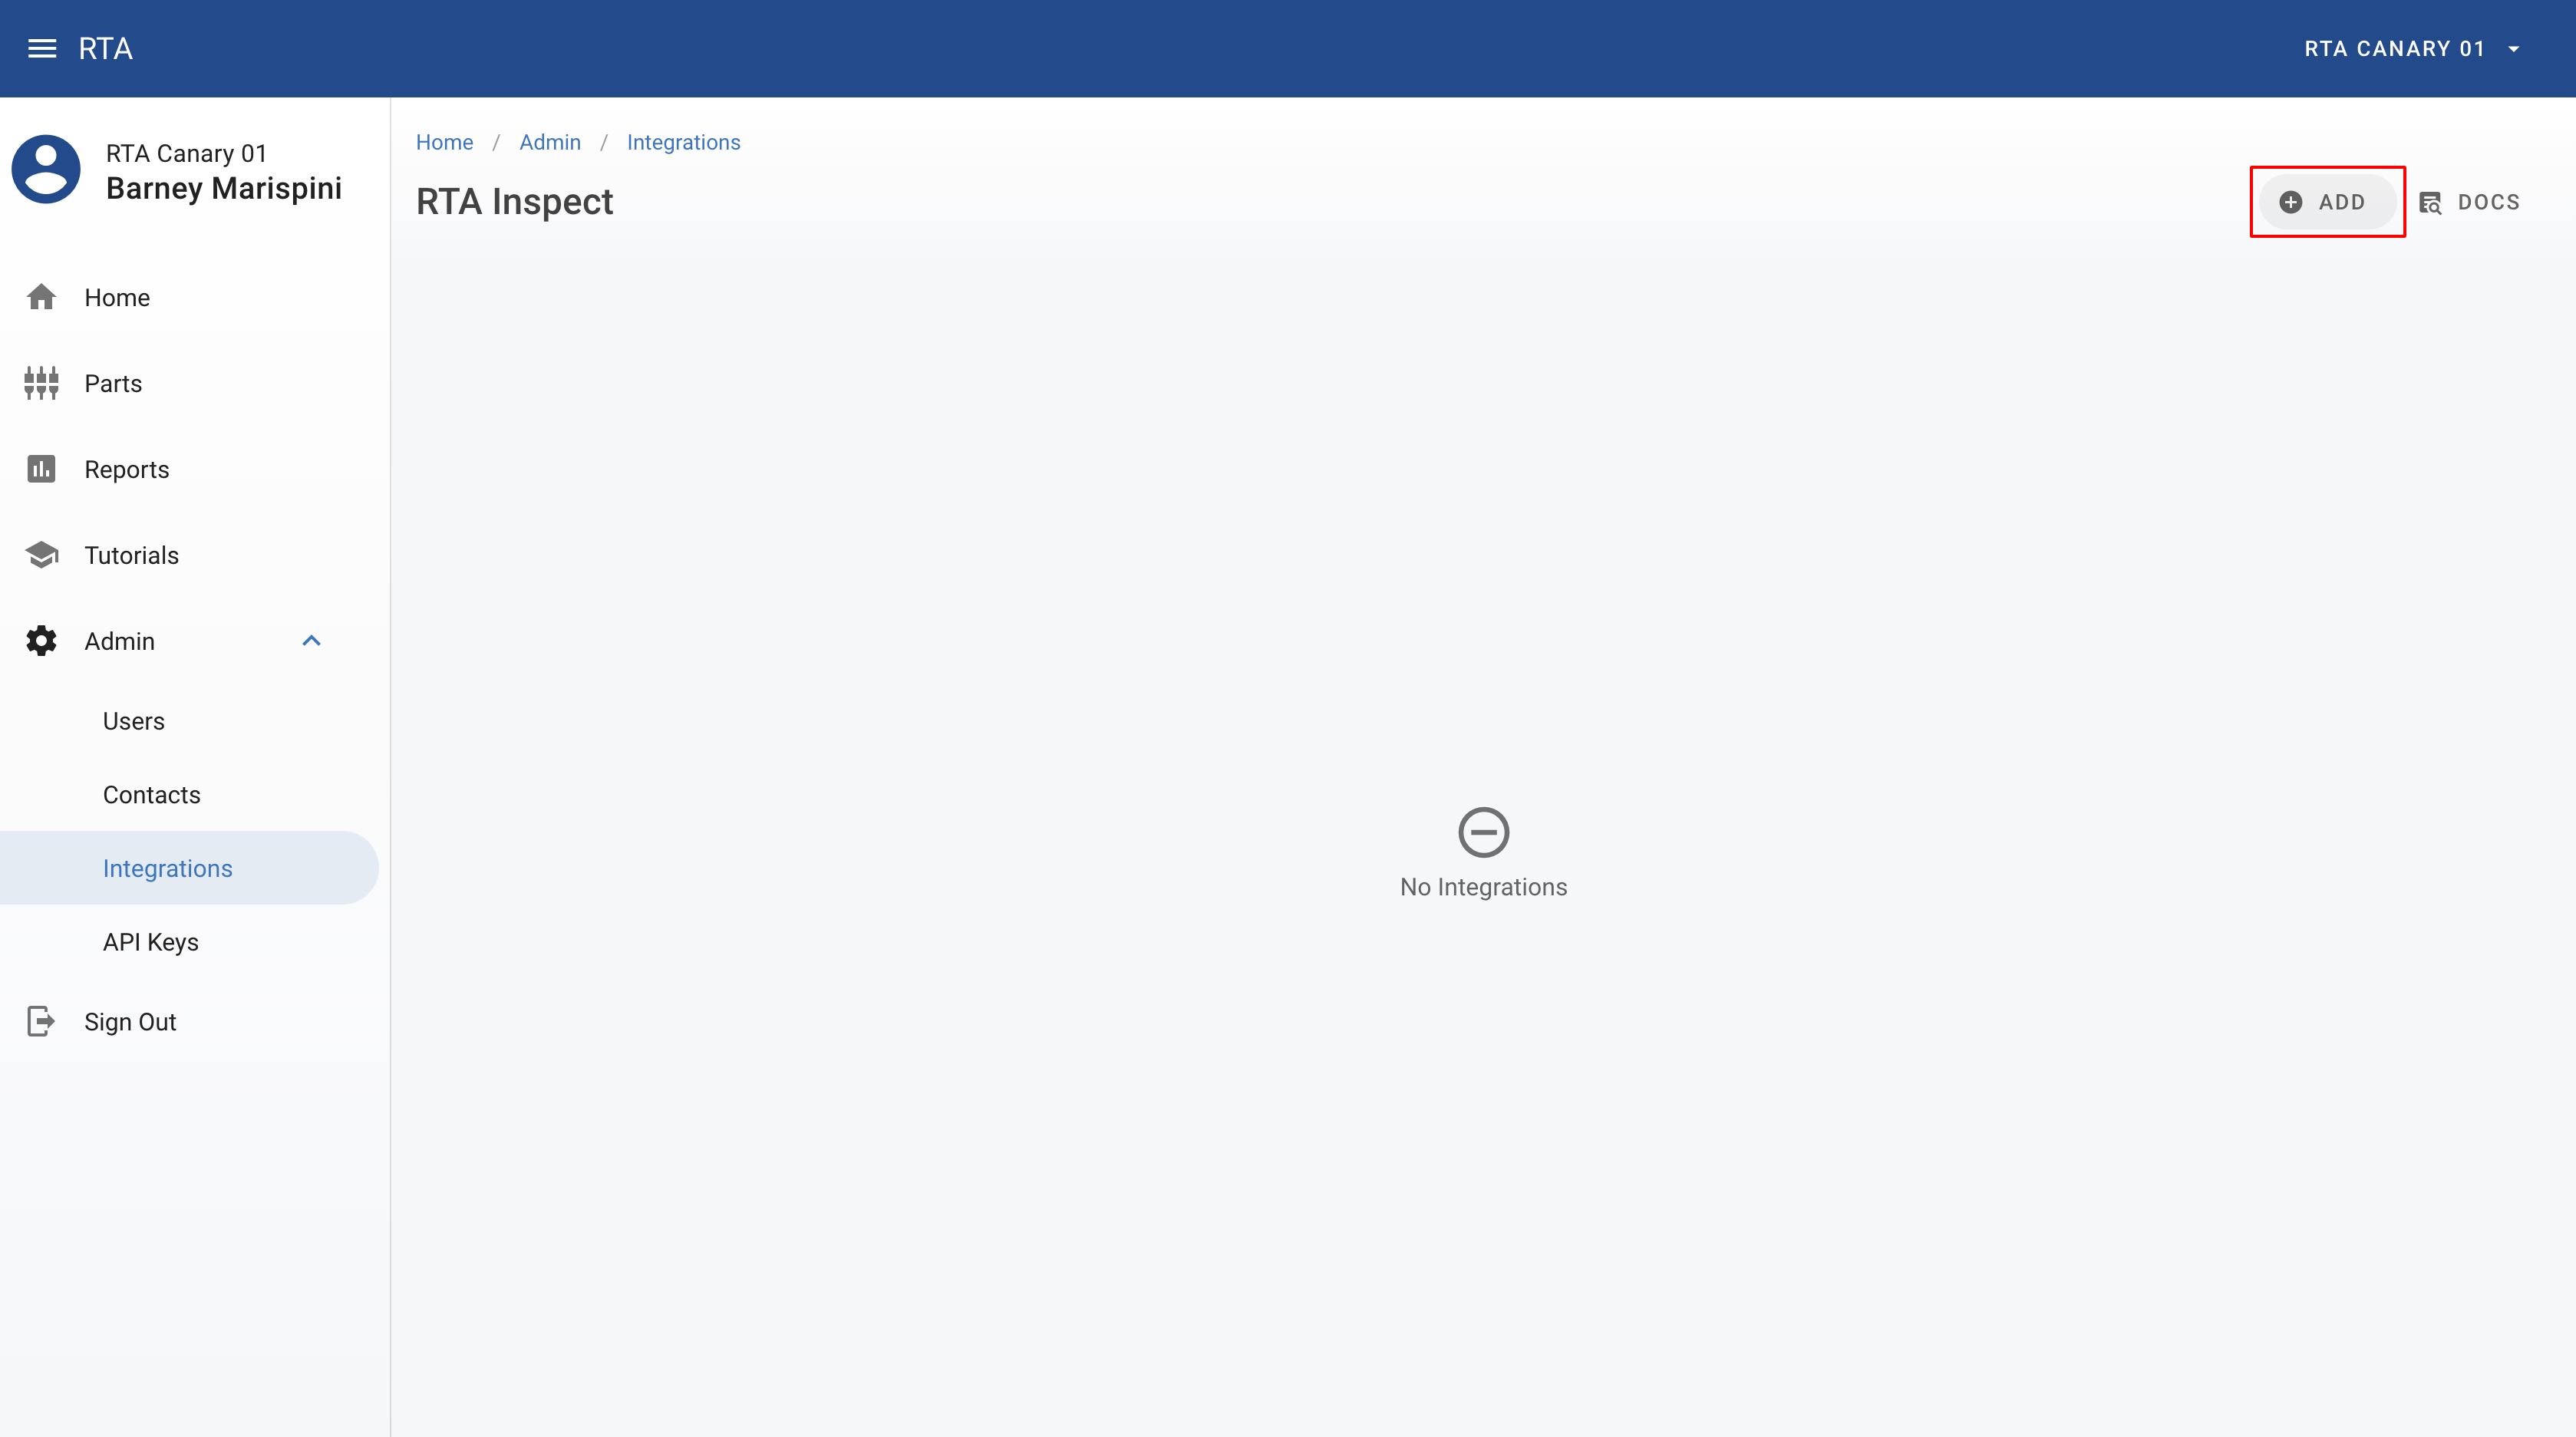
Select whether you’re creating a brand new RTA Inspect account or linking to an existing one
If creating a brand new account:
...
1. Complete the form
- The “Fleet Size” defaults to your active vehicle count
...
- You will not be charged during your RTA Inspect trial (30 days), or if you are licensed as RTA SaaS, Platinum, or above
2. Click the “Save” button
If linking to an existing account:
...
1. Generate an “integration key” on the RTA Inspect Web App
...
2. Return to the RTA Web App Integrations screen
3. Complete the form
a) Enter a “Name” for your integration
...
7. Now that your integration has been created, you can begin syncing your vehicles
...
Vehicle Sync
Syncing vehicles is meant to be as painless as possible.
Log into the RTA Web App
Click the “Vehicles” link in the left sidebar
You should see a list of vehicles. From here, you are able to check boxes, and sync vehicles over to RTA Inspect by pressing the “Sync to RTA Inspect” button.


After hitting save, the vehicles you have selected will begin to be created in RTA Inspect.
That’s it! If you refresh the page after some time, you should start to see some vehicle's integration status change from “SYNC_PENDING” to “SYNCED”.
Common Reasons for Syncs to Fail
You have exceeded your license limit in RTA Inspect. In RTA Inspect, you are only allowed a certain number of licensed vehicles, so syncing vehicles over the limit will result in failures. No fret! You can simply “Unsync” a vehicle by checking its box and clicking the “Unsync to RTA Inspect” button. Once that is done, a license should be freed up, and you can try to sync again!
Duplicate VIN numbers on vehicles that were manually added to RTA Inspect. When syncing over, if you have preexisting vehicles in RTA Inspect, RTA tries to match vehicles based on VINs. If RTA Inspect has 2 vehicles with the same VIN, the integration will fail to sync because simply, we don’t know which RTA Inspect vehicle that RTA vehicle maps to!
Issue Sync
Issues found from RTA Inspect will be automatically added to the Driver Reports module in the vehicle’s home facility that they were reported on, and update the vehicle odometers accordingly. As status changes are made (for example, the issue is assigned to a work order in RTA), the integration will call back to RTA Inspect and update its status accordingly (such as “In Progress”). That’s it! Nothing else you need to do, except do your work and let RTA and RTA Inspect handle the rest!
Currently, it could take up to 15 minutes for issues to be synced both ways. So, if you expect something to be there, wait for at least 15 minutes, and then reach out to RTA Support (support@rtafleet.com) for troubleshooting.
| Info |
|---|
Did you know that you can have the component and location split out and digested by RTA by using a special convention? Simply use a pipe “|” character, and the left side will go into the component field in RTA, and the right side will go into the location field! For example, take “Fender | Passenger Side”. It would end up like this in RTA:
|
Fore more information, please see https://docs.rtafleet.com/rta-manual/rta-inspect/For the next step on linking Vehicles, please see:
How do I add vehicles in RTA Inspect?
For more information, please see RTA Inspect