How to Post Labor & Parts to a Work Order
Step by Step guide
Once the Work Order has been created and the work has been completed, you can then record the Labor hours, Parts used, Tires mounted, and Misc. charges and credits.
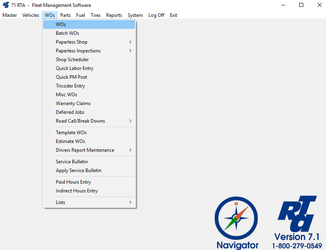
- Select WOs > WOs (WW) from the RTA main menu.
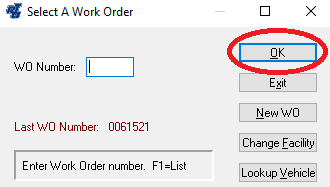
- Enter the Work Order number you will be posting to and select the “OK” button.
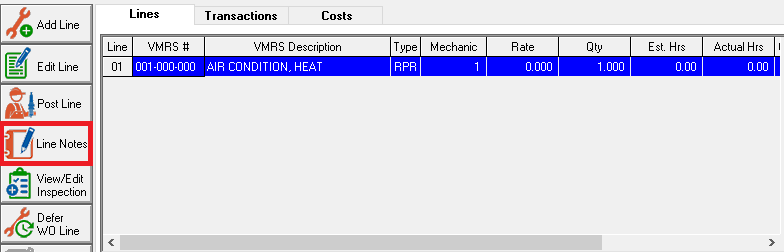
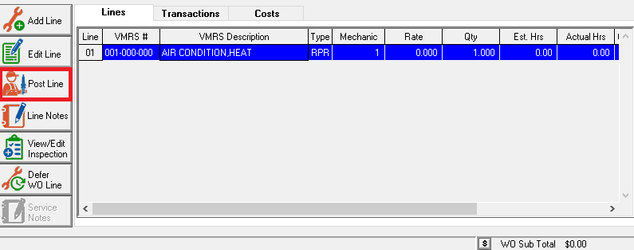
- Highlight the job line to which you will post Parts or Labor and select the “Line Notes” button.
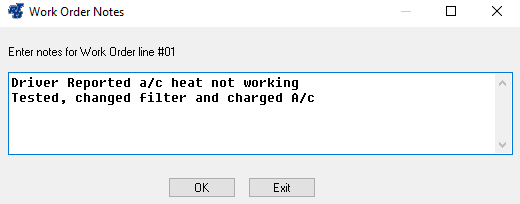
- Enter notes for work completed as desired (Typically: Complaint/Cause/Correction). Select the “OK” button.
- Select the “Post” button
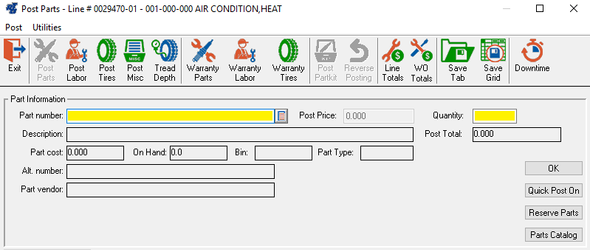
- Enter the Part number and Quantity used and select "OK". If you type a Part number that is not found in the system, you will be asked if you want to “ADD”, “CONTINUE” OR “CANCEL”. If you select “Add”, you will be taken to the Part Master screen to add the part record. If you select “Continue”, you will be prompted for basic information about the Non-file Part.
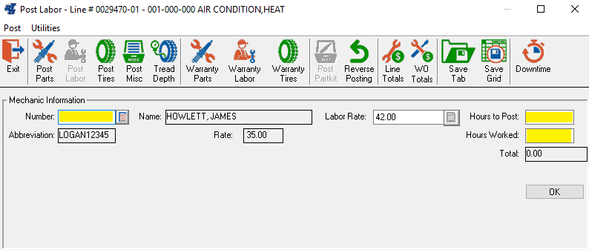
- Click on the “Post Labor” icon to bring up the screen for posting Labor.

- Enter the Mechanic Number if this job has not been assigned already. "Hours to Post" is billable hours and "Hours worked" is actual worked hours. If billable hours and worked hours are always the same, just put in hours to post and select the "OK" button. If this job was specified as an Outside repair, you will be prompted for your Vendor labor costs instead of Mechanic information.
- Click on the "Exit" button
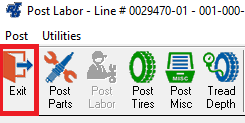
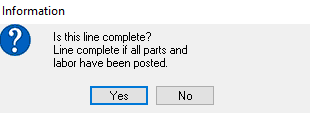
- You will be prompted to close the job line. If it is completed, select "Yes."
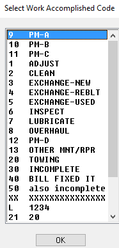
- If prompted for a Work Accomplished Code, select from the list. (This can be turned on or off in the switches)
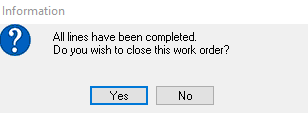
- If all other job lines are closed, you will be prompted to close the Work Order. If you choose to close the Work Order, you may be prompted to enter up to 5 lines of Master notes to the Work Order. Master notes are printed at the bottom of the Work Order.
- After closing the Work Order, you may be prompted to print the Work Order. If you wish to print, select the “OK” button, then you may choose from your Print Options.
- The screen will return to the Work Order prompt. You can Exit or process another Work Order.