How to Add Work Order Lines in 7.2

Step by Step guide

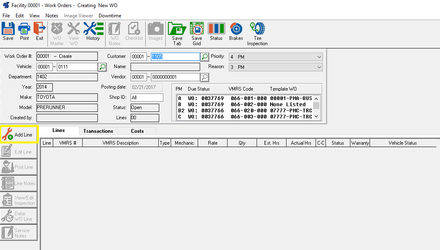
  1. Select the "Add Line" button in the Work Order window.
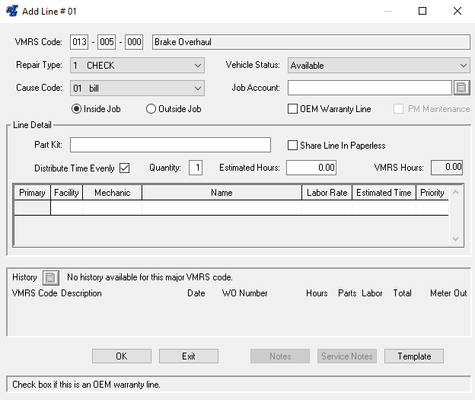
  2. Enter the information into the fields of the "Add Line" window. You will notice the screen has changed from previous versions. You can now add more than one mechanic to the line and the navigation has changed some. Please click to expand a description of each field


     VMRS Code (Required)

    Enter the VMRS code for the work on this work order line, or press “F1” and select from the lookup list. Be as specific as possible. This code will be used later to search for Repair History and other reporting features.

     Repair Type (Required)

    Using the drop-down menu, select the repair type most appropriate for this job. These codes determine what type of repair was done. Some of them have special purposes within the software such as defining Preventive vs. Corrective maintenance costs, defining Damage cost vs. Normal repair cost, and designating a repair as being performed by an outside vendor instead of “in-house”.

     Vehicle Status

    Set the status of the vehicle in relation to this specific job. A vehicle may have multiple active jobs with different status indicators.

     Cause Code

    This code is an optional feature based on your RTA system’s configuration settings. If active, select the cause for the repair.

     Template

    This button is used when a WO template is used to create the work order line. For more information see Template Work Orders in the RTA User’s Manual

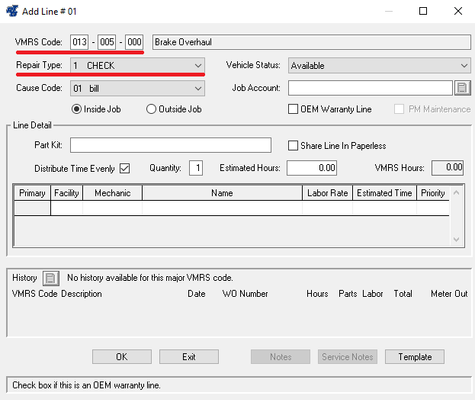
  3. You now need to define if this is an inside or outside job. The screens will be different depending on which one you choose.
    1.  Select Inside Job

       Part Kit

      If you have created a Part Kit to be used when this particular job is done, specify it here. It will then be available for printing with the Work Order and alert the mechanic whether there are enough parts in stock to complete the job.

       Share Line In Paperless

      Since you can now have more than one mechanic on a line, you can now check this box if you want the assigned mechanic to be able share out the line to other mechanics in Paperless if they need help with the job.

       Distribute Time Evenly

      This option is only available when you are adding a line. This box will distribute the estimated hours evenly between all mechanics assigned to the line.

       Quantity

      Used to specify if the job is to be performed more than once (ex: replace multiple tires). An entry here multiplies the estimated time for the Work Order line

       Estimated Hours

      If you are tracking mechanic productivity, this is the estimated time to perform the repair. The mechanic’s actual time will be compared to this estimate to calculate his productivity.

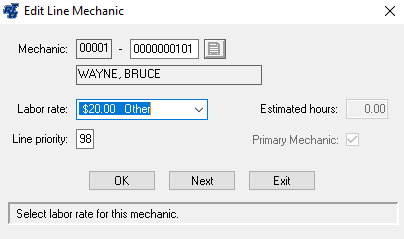
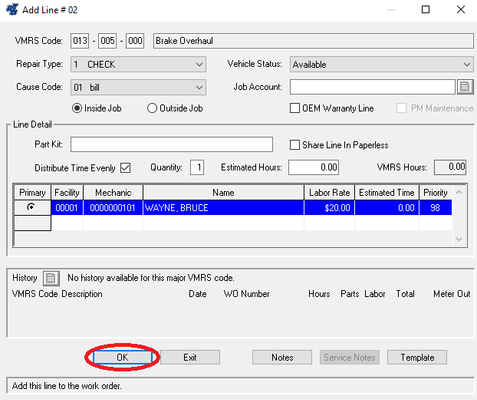
      After filling out the above information, if you hit tab, it will open up a new window to add a mechanic. Select your mechanic, put their labor rate and enter the line priority. If this is the only mechanic, hit "OK." If you are adding another mechanic to the line, hit "Next."

    2.  Select Outside Job

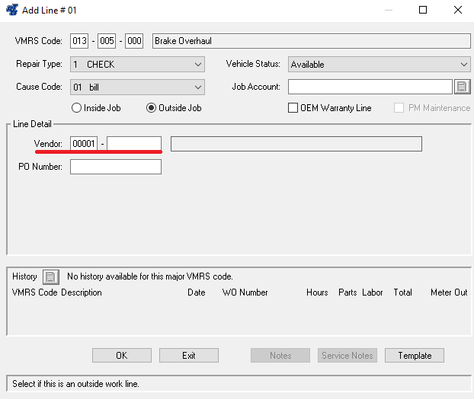
      Enter in the Vendor or use the F1 lookup list and then put in the PO number.

  4. Select the "Notes" button if you want to add line notes or hit the “OK” button and you will be prompted for an additional line
  5. Repeat steps 2-4 for additional lines. When all lines are opened for this Work Order, select the “Cancel” button. You can return to the Work Order later to add additional lines, post parts and labor, edit notes, etc…