RTA Mobile - Part Records
The Parts tool allows you to utilize several functions through the mobile app, including:
- Search for a part or scan the barcode to pull up the part
- Add Part Tags to the part tags queue
- Add a Vendor Cross Reference
- Adjust on-hand quantities
- Edit Bin Locations for the part
- Edit Part Description
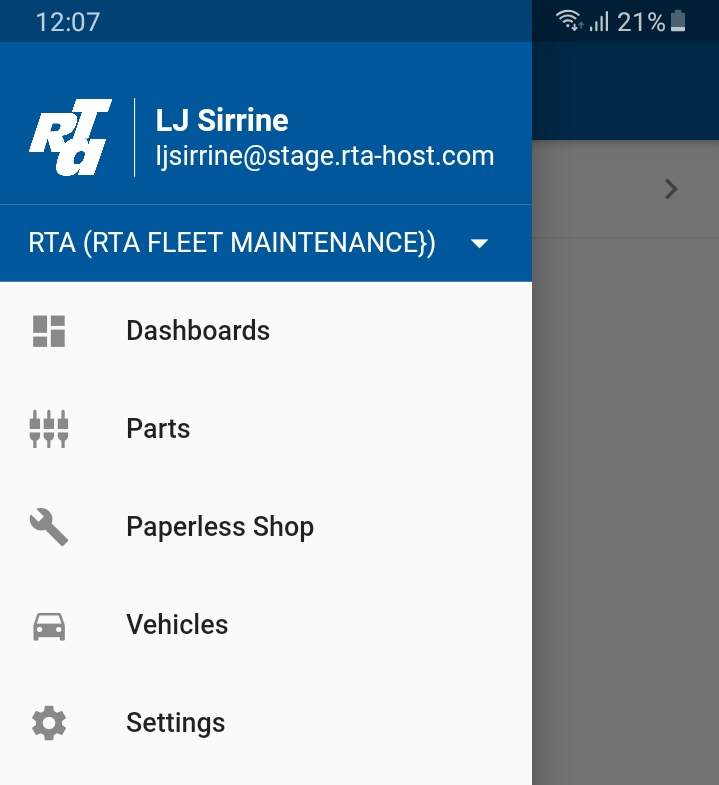
1. To access the Parts option in the app, select Parts from the Main Menu.
2. To bring up a part, choose the search function (magnifying glass), as shown in Figure 9.
Figure 9
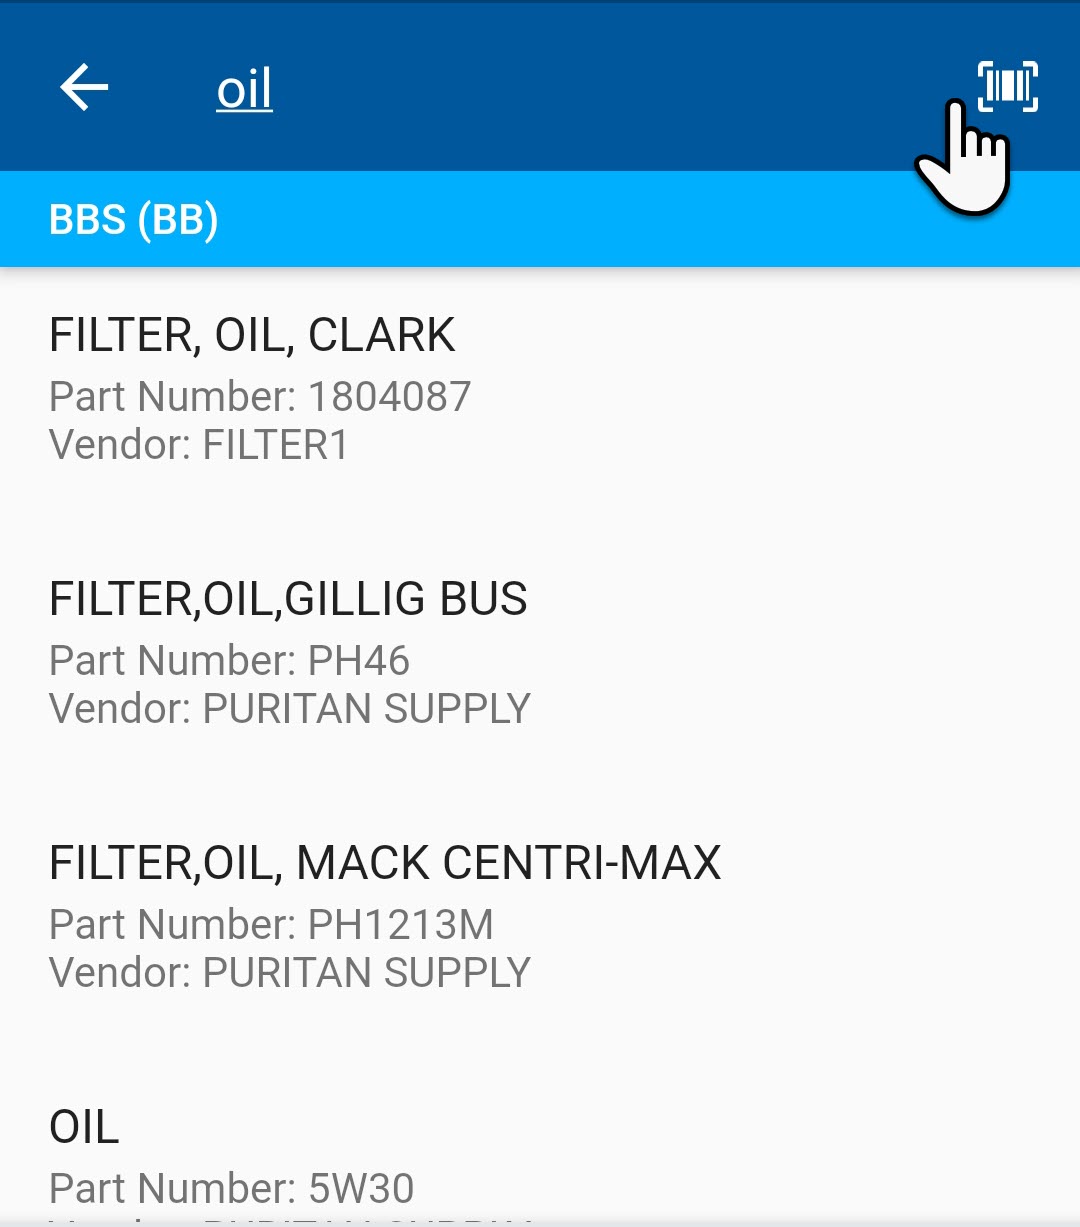
3. Once in the search bar, you can find a part using the following options: type in the part number, type in a description of the part to bring up a list of related parts to choose from, or opt to use the “Scan” function (Figure 11) of the app and scan the part’s barcode using your device’s camera.
Figure 11
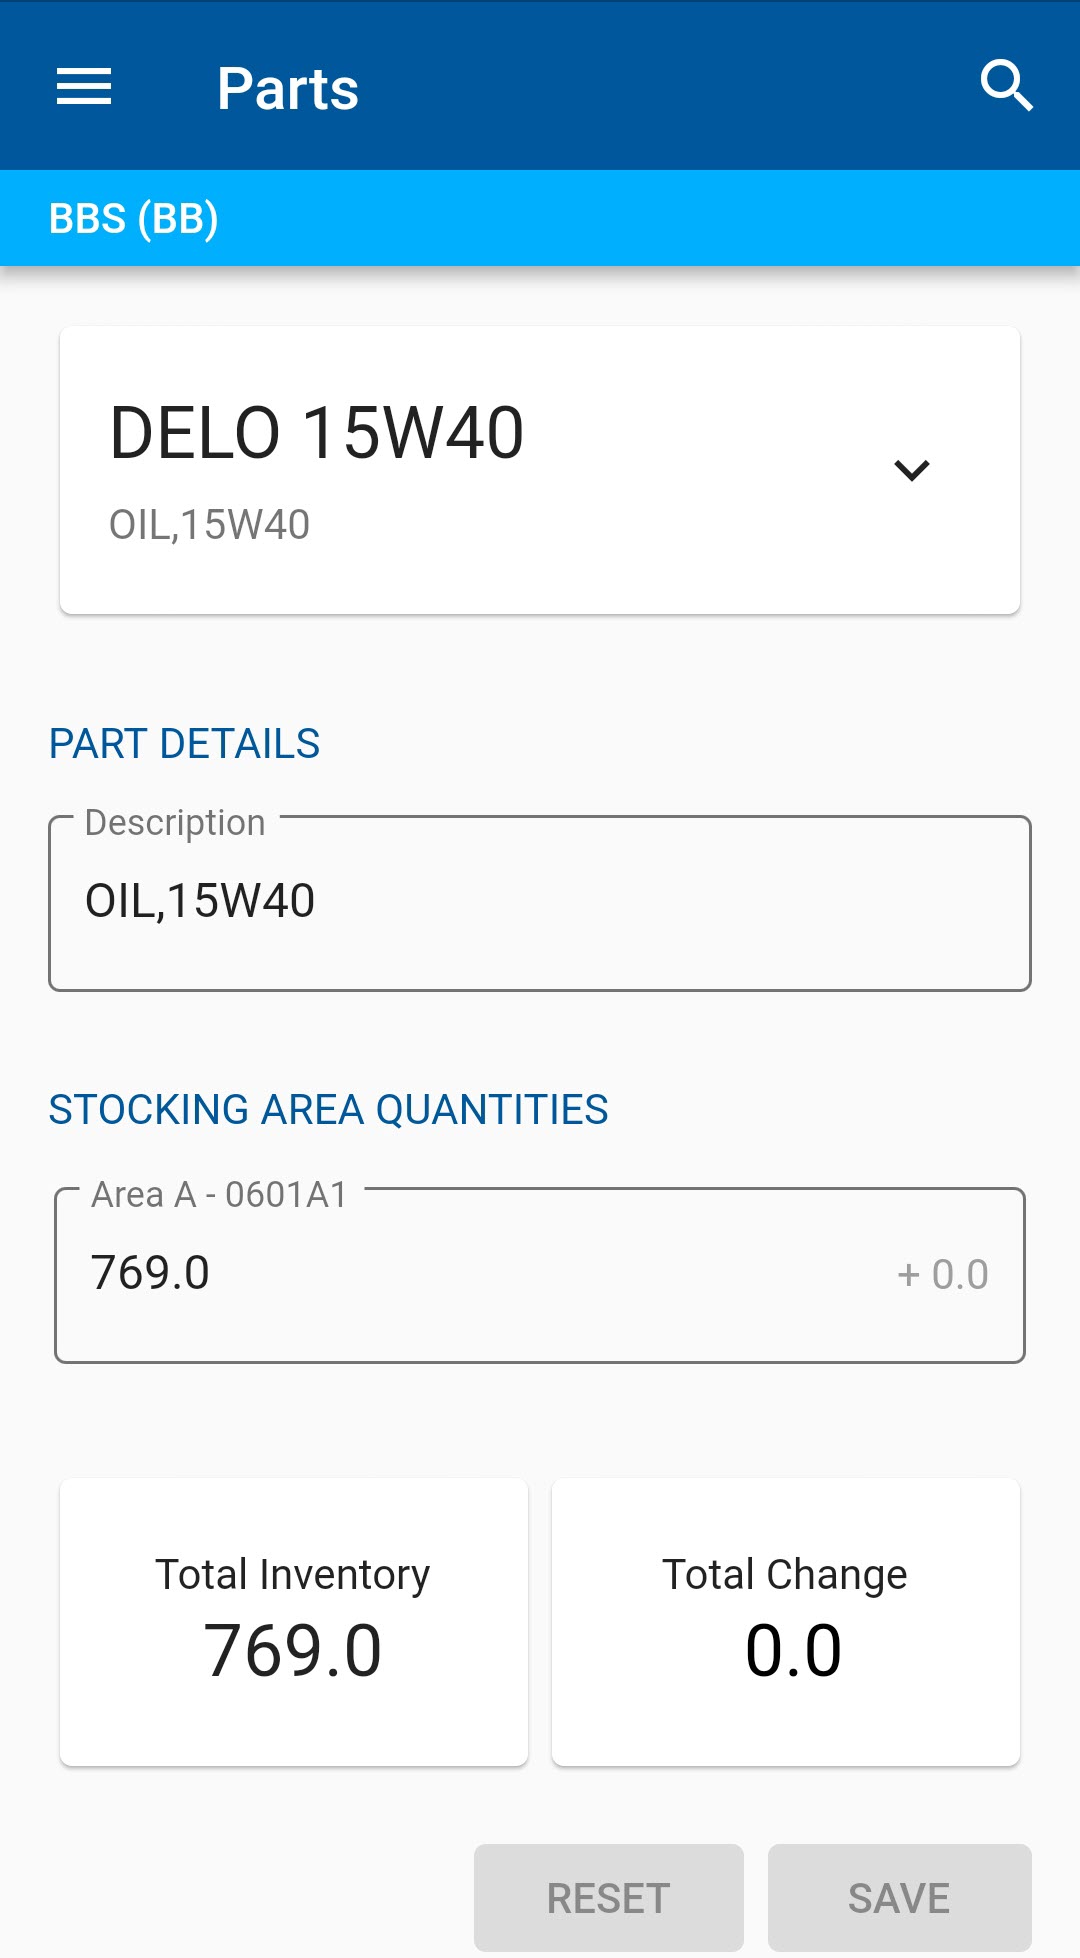
4. Once your part is displayed in the app, you can choose what action you wish to perform (Figure 12).
Figure 12
Adjusting Inventory
The RTA Mobile app allows the user to quickly make adjustments to on-hand inventory levels as part of a normal inventory process. See Physical Inventory Counts for more detail.
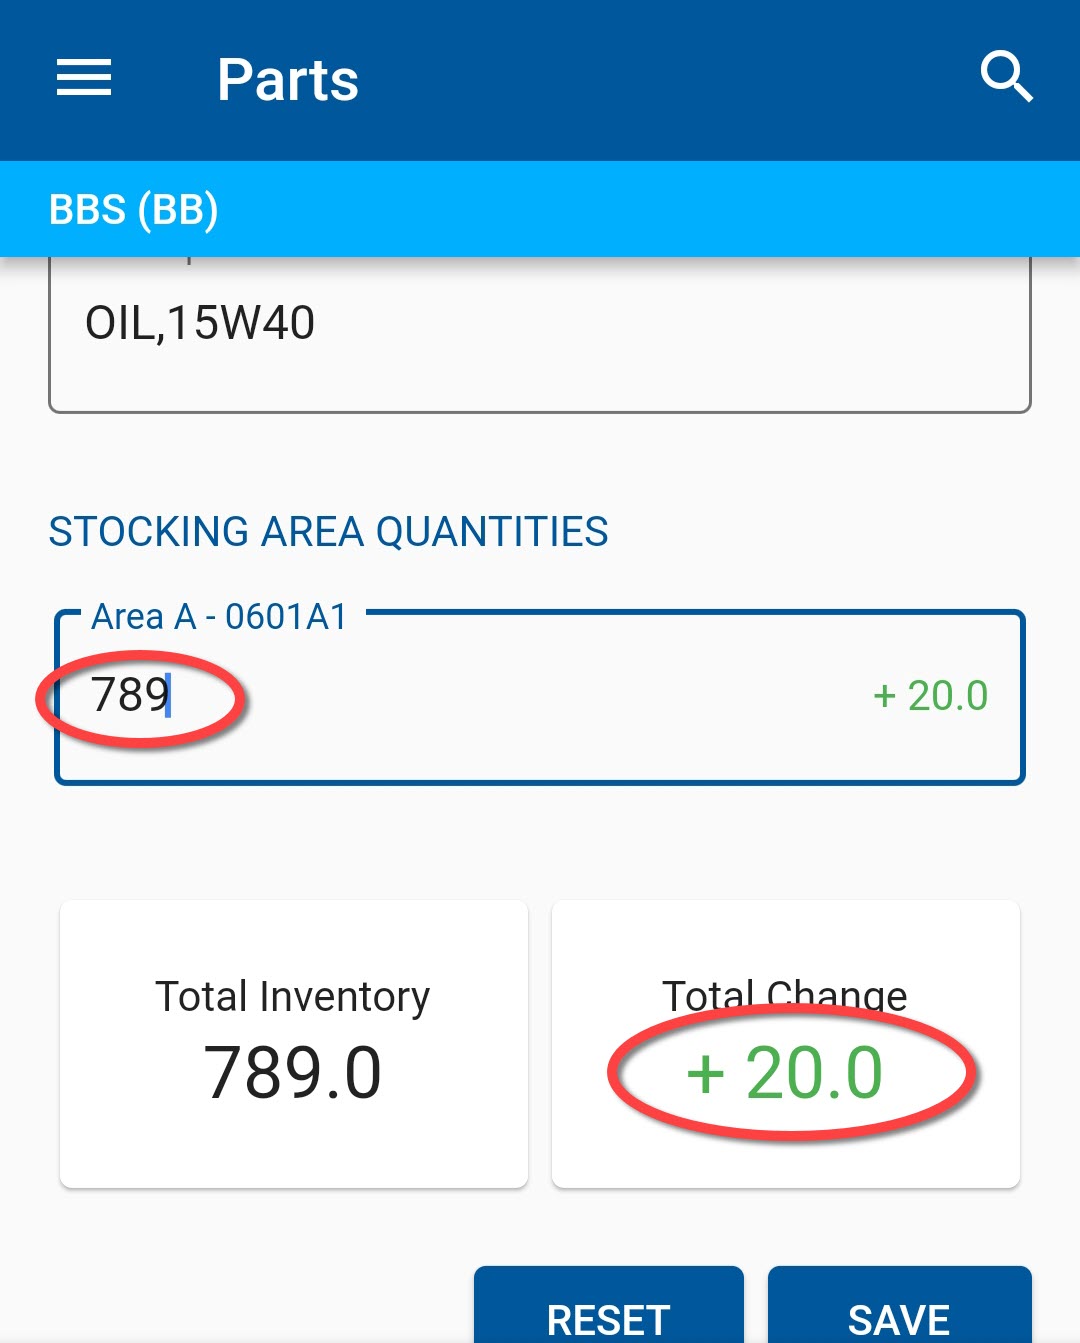
To make a Parts Inventory Adjustment, adjust the on-hand quantities per stocking area. A positive adjustment will display in green and a negative adjustment will show in red. Select “Save” (Figure 18).
Figure 18
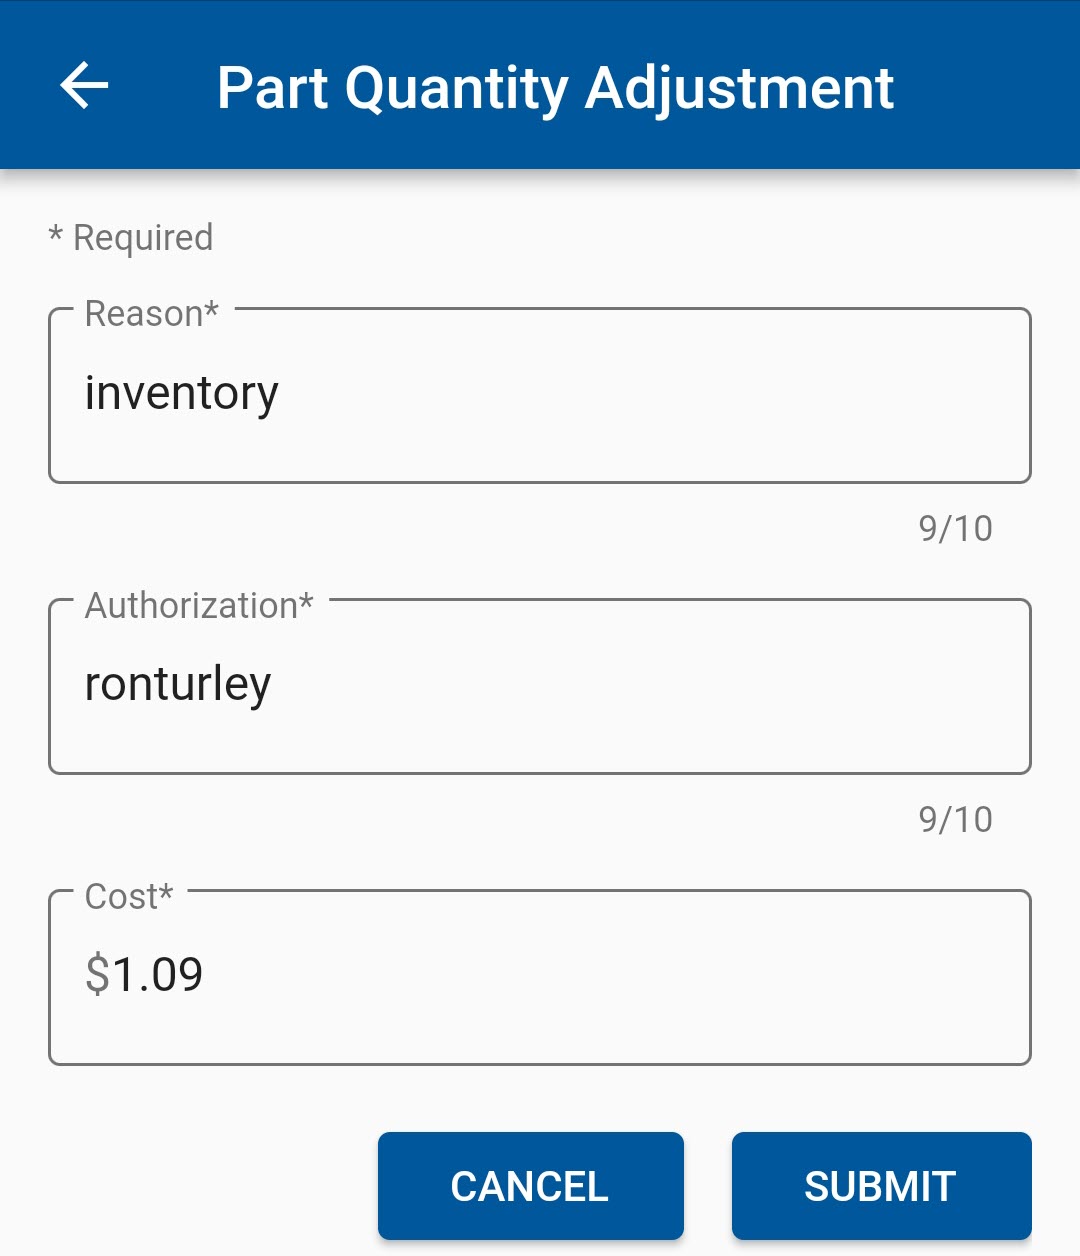
Next, enter the reason for the adjustment and select “Submit” (Figure 19)
Figure 19
The part’s on-hand quantity will be changed in the RTA system, and a parts adjustment record will record the change.
Part Tags
Part tags allows you to queue a number of tag to be printed from the RTA Desktop application.
Note
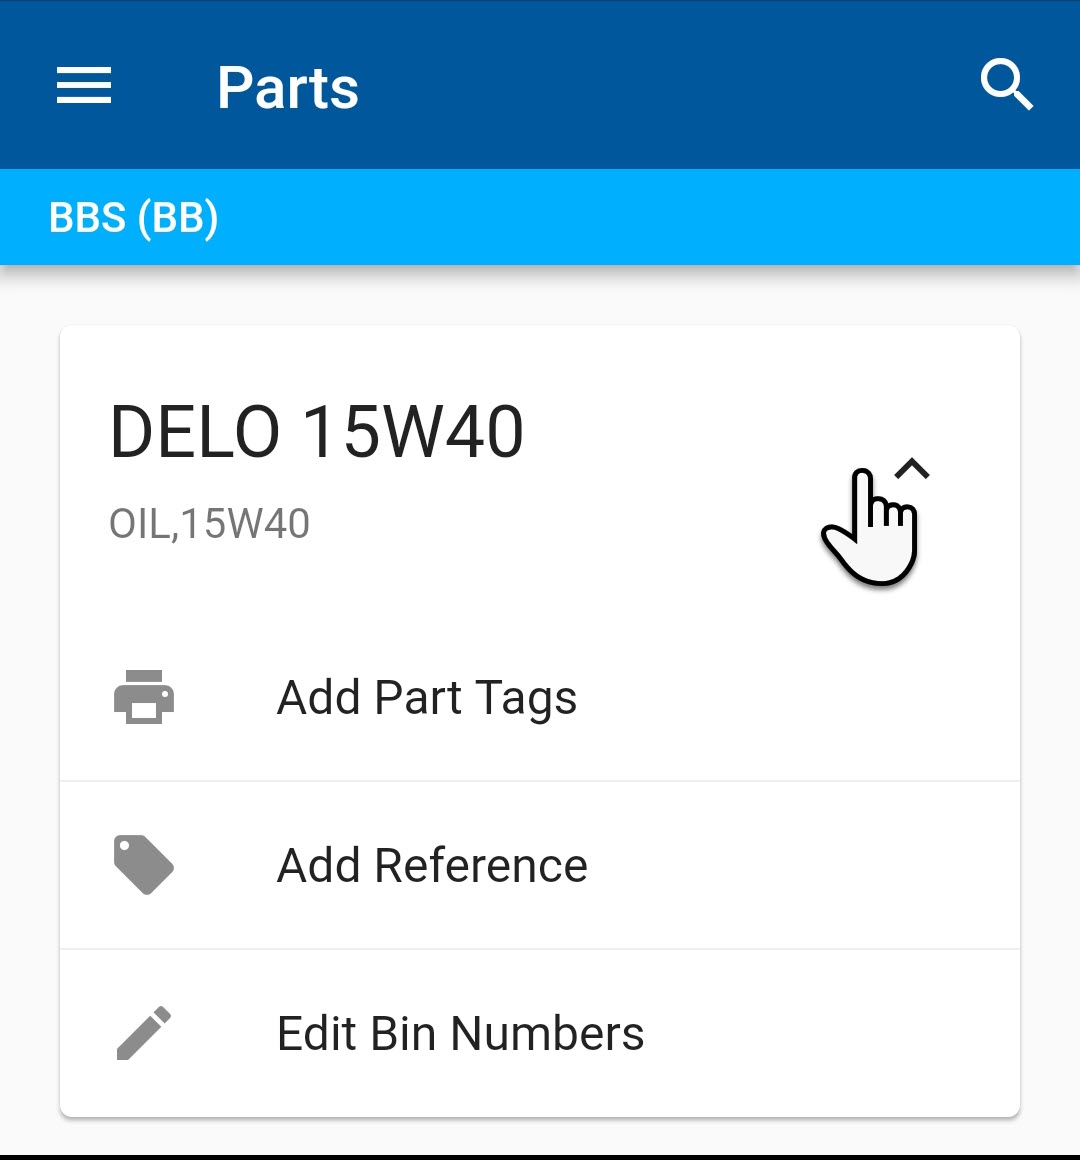
To see additional options for creating Part Tags, adding a Vendor Cross Reference and to Edit Bin Numbers, use the expand feature (Figure 13), in the part number field.
Figure 13
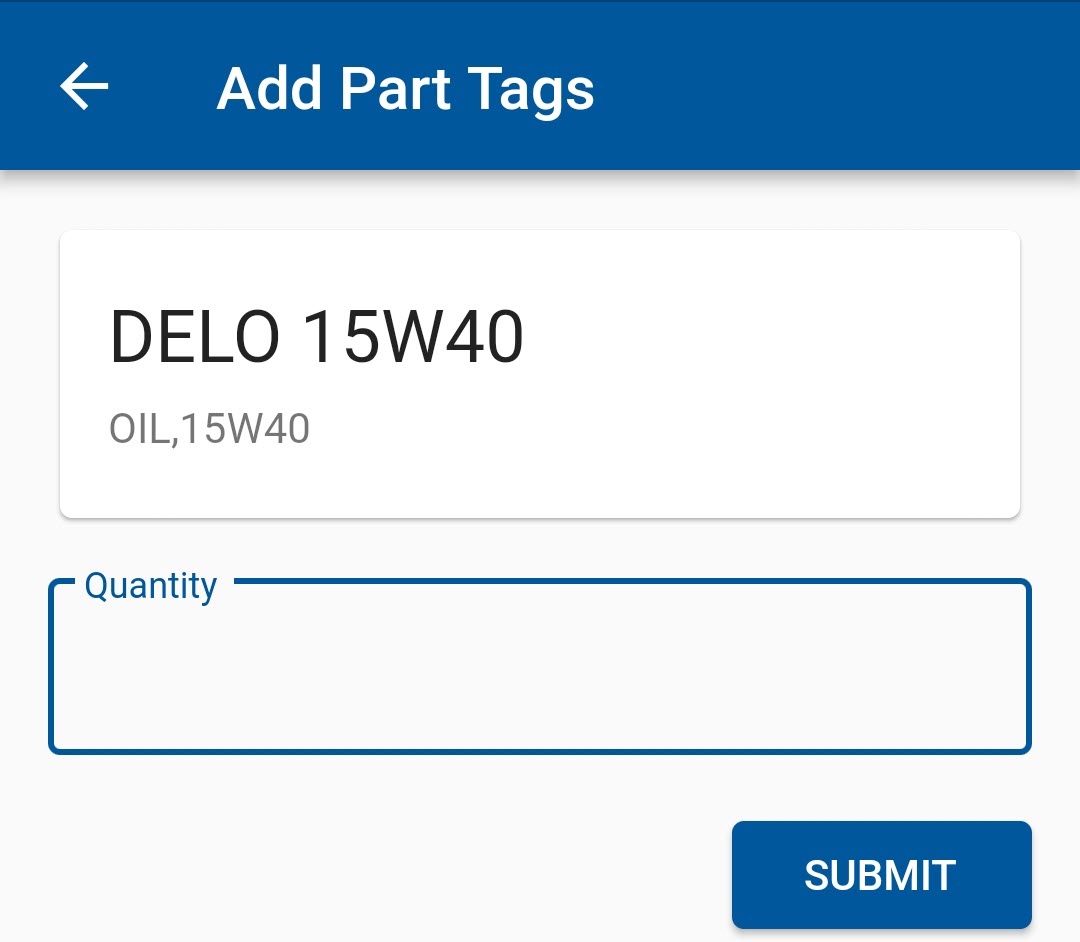
To add a Part Tag to be printed, enter the number of tags you wish to create and select “Submit” (Figure 14).
Figure 14
Add Part Vendor
The RTA Mobile application also allows you to a new vendors for a part.
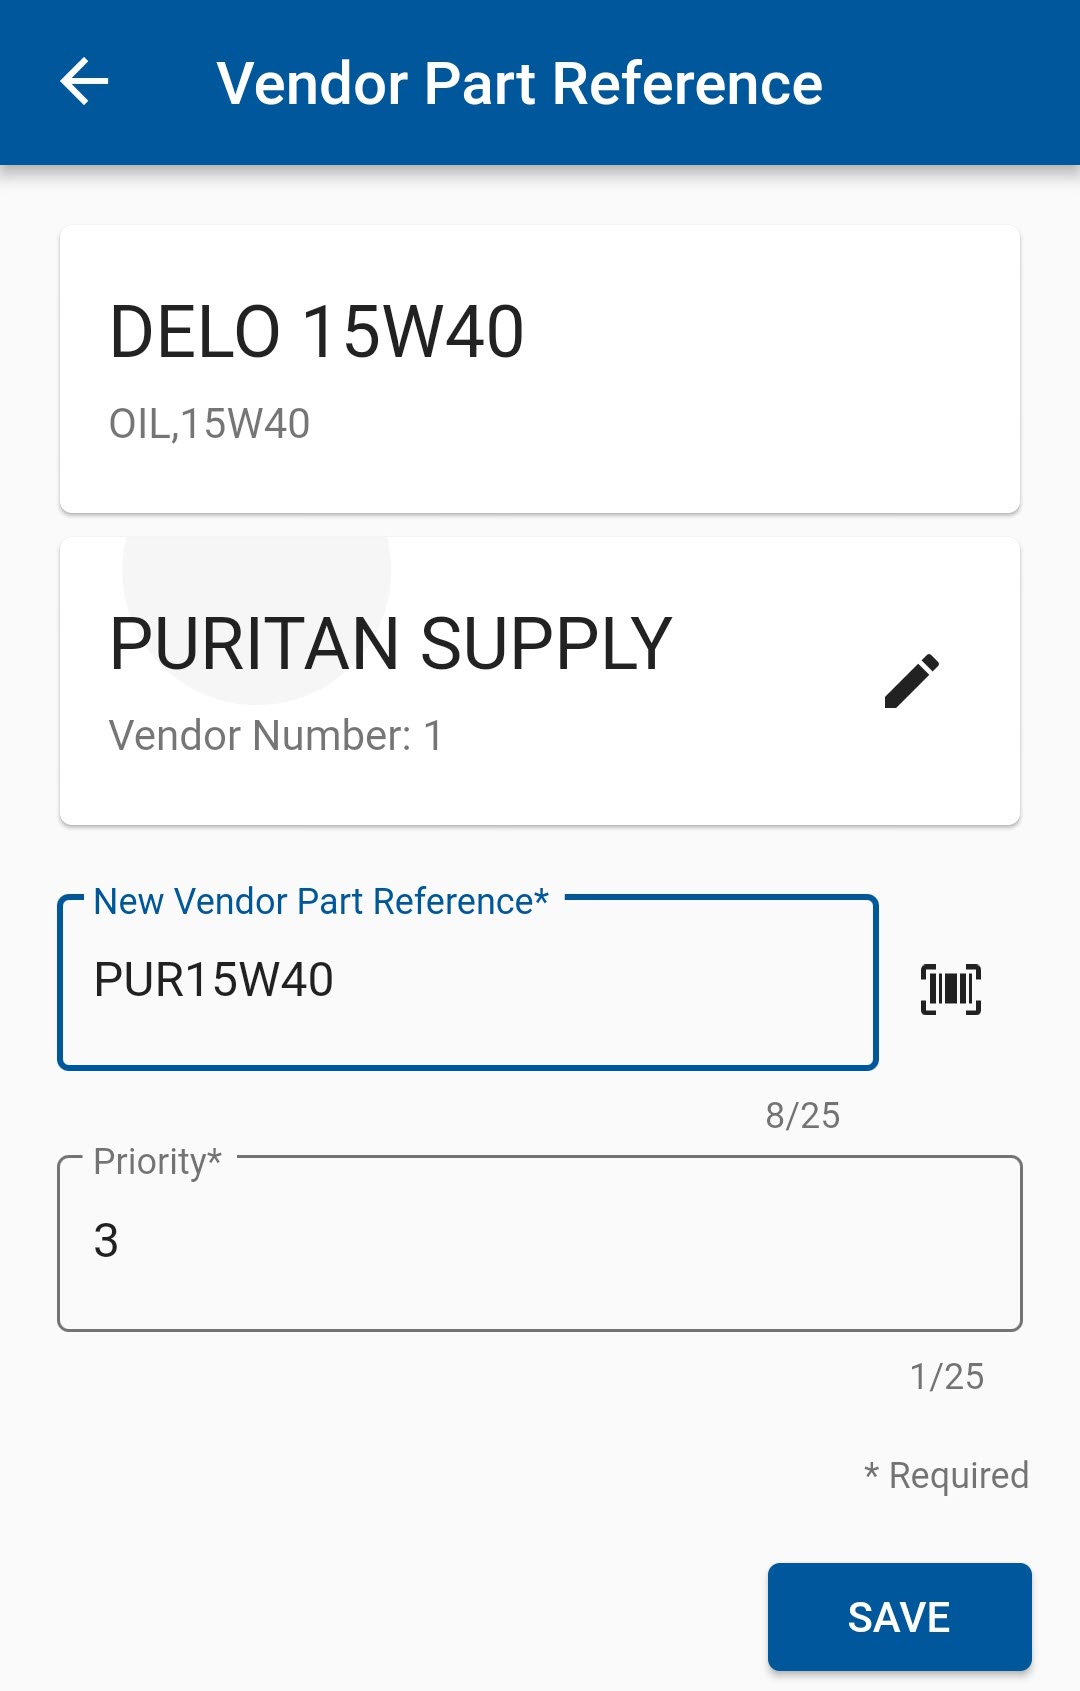
To add a Vendor Cross Reference, select the vendor you wish to add a cross reference for. Then type in or scan the new part Cross Reference for that vendor and rank it in the Priority field. Select “Save”. (Figure 15)
Figure 15
Edit Bin Labels
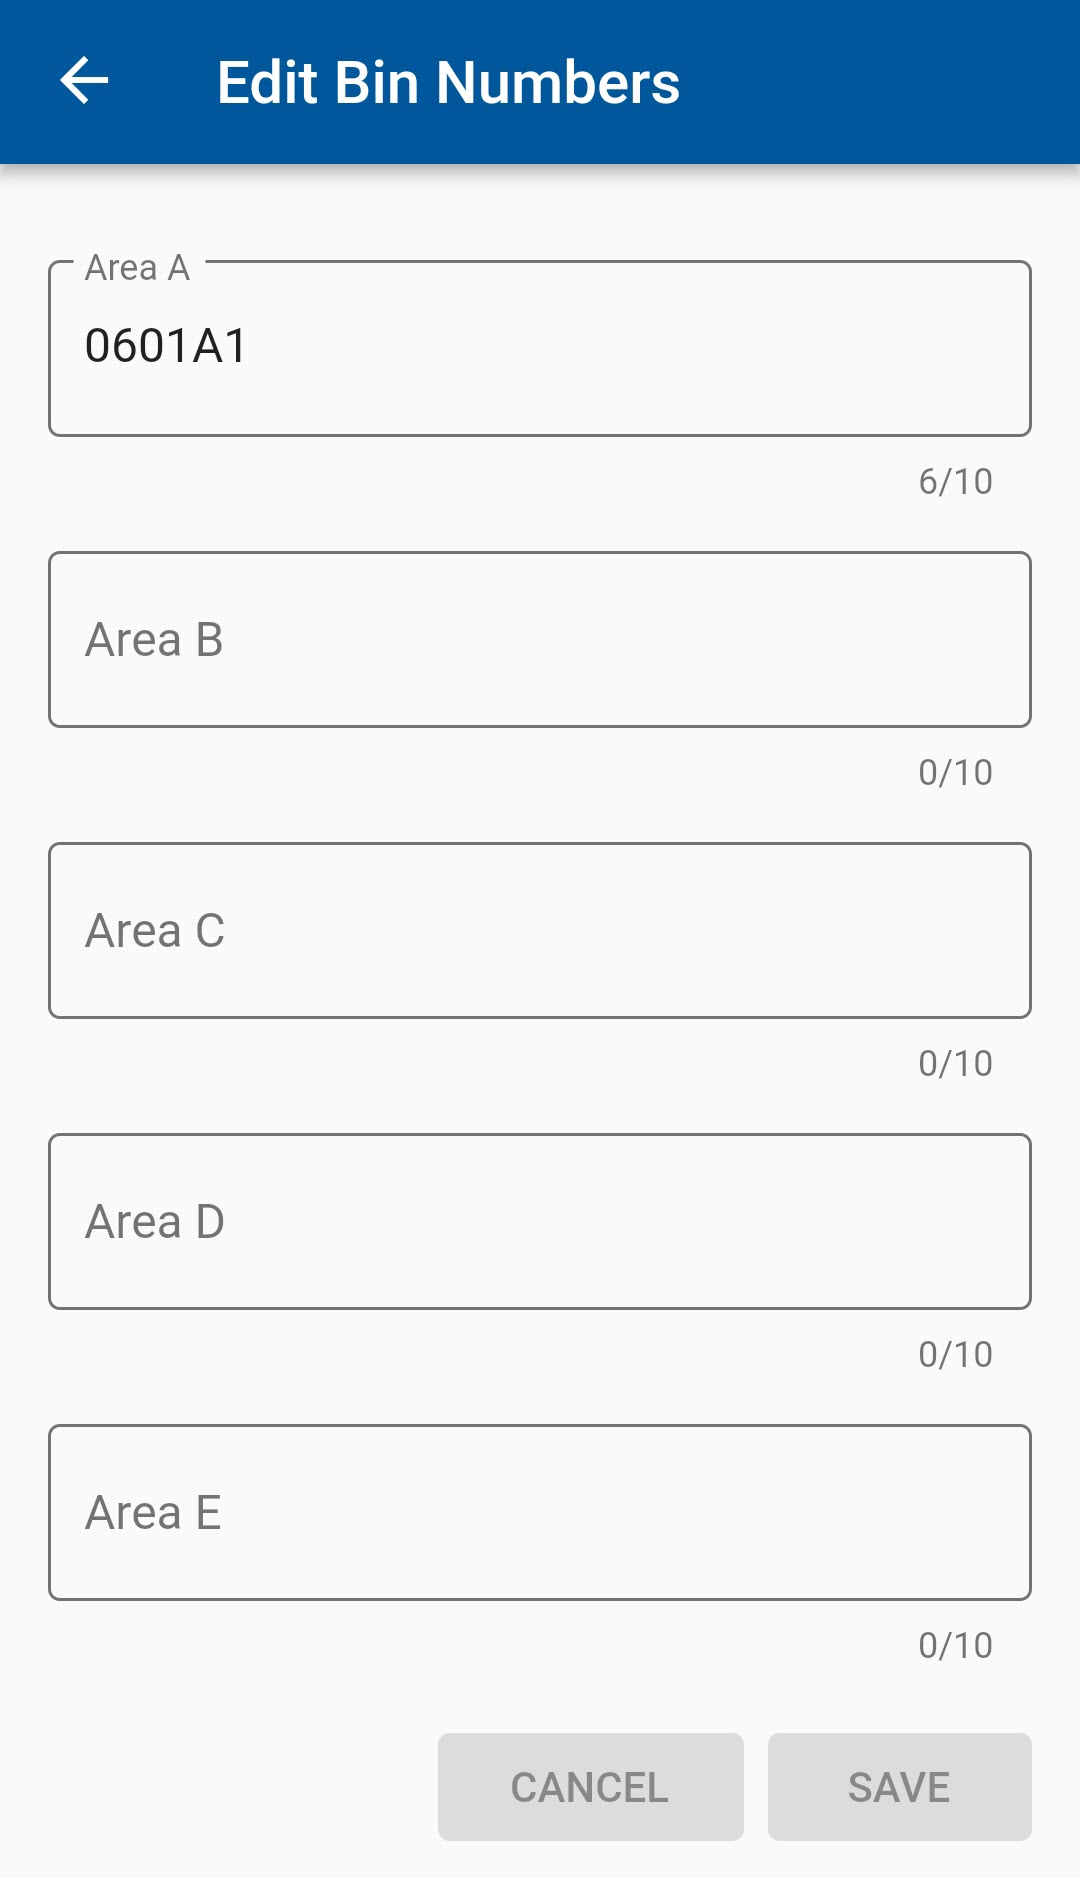
To edit the Bin Location, simply add or change the bin numbers in the available stocking areas and select “Save” (Figure 16)
Figure 16
Edit Part Descriptions
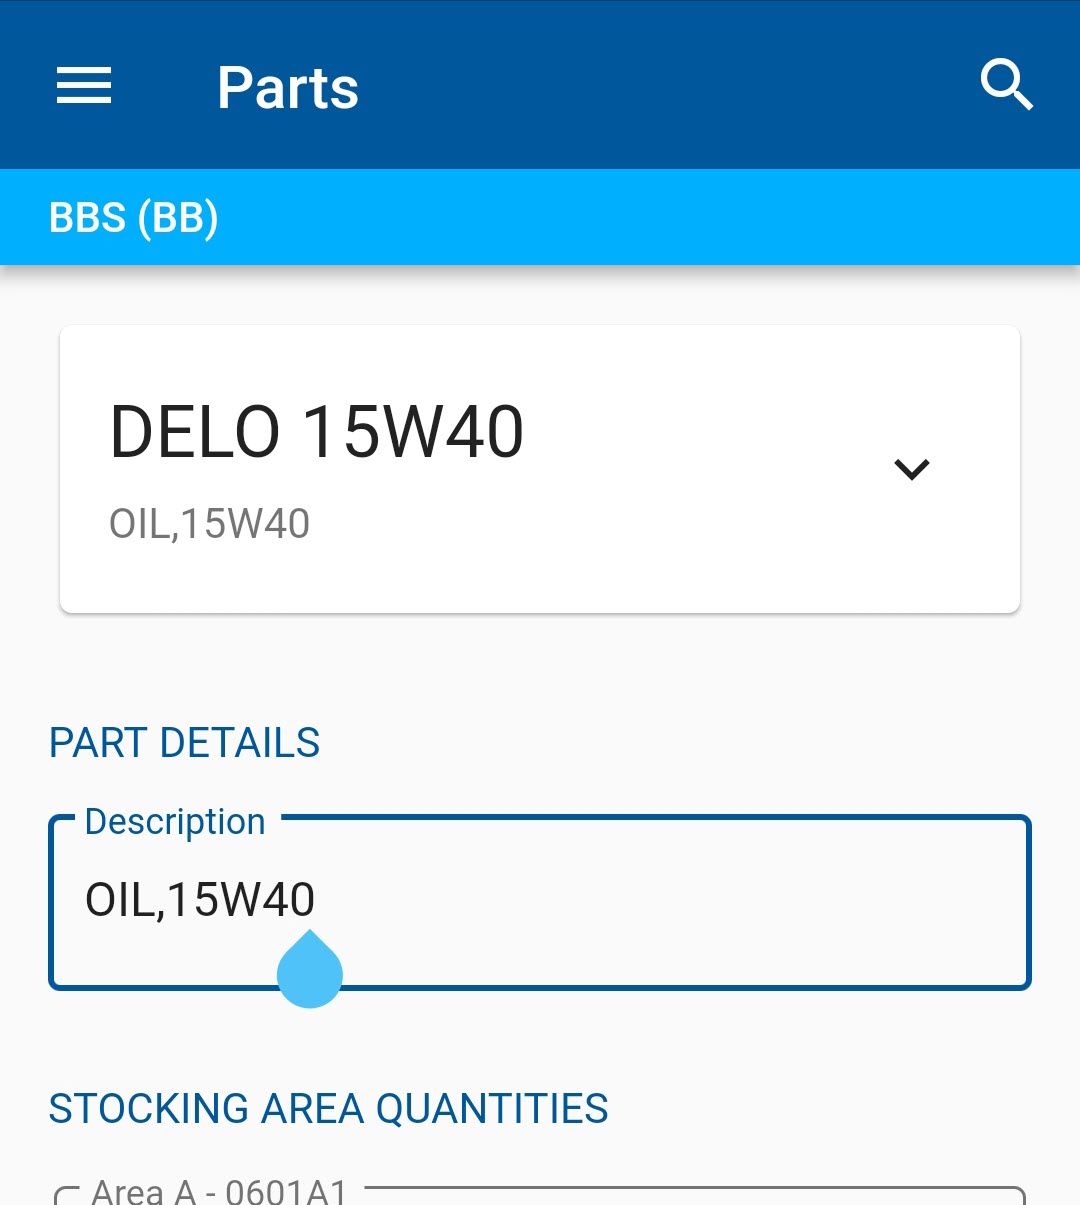
To edit the Description of the part, select the Description field, edit the description and select “Save” (Figure 17).
Figure 17
