Web Application
- Bret Hilton (Unlicensed)
- Dallin Dastrup
- Enoch Poston
- Doug Perkes (Unlicensed)
APPLIES TO: SaaS and Hosted SQL Customers
This information only applies to RTA Software-as-a-Service and Hosted SQL customers.
The RTA Web application represents the next evolution of the RTA Fleet Management Software ecosystem, designed to save you time, reduce fleet costs and make our roads safer.
In this document:
Logging in to RTA Web
Accessing the RTA web application is similar to many other modern web applications and can be accessed using any of the modern web browsers including Google Chrome, Apple Safari, Mozilla Firefox, and Microsoft Edge.
1. RTA or the company administrator creates an account for the user
2. The user should go to https://app.rtafleet.com (Figure 1) .
Figure 1

3. From here, the user should click on the “Sign In” button
4. When the user is prompted, click “Log in at RTA-Host.com” (Figure 2).
Figure 2
5. Next, the user should enter his or her assigned username. It should follow this format: [username]@rta-host.com. Once that is entered, click “Next.”
6. Then enter the user's assigned password. Click “Sign In.” This will redirect the user to the RTA Web app.
User Management
In its initial phase, the Web App’s primary purpose is to allow for user management. This lets administrators setup users and manage their permissions for the RTA mobile application.
Special Note on Active Directory vs RTA Desktop Users
The RTA desktop application that many of our customers have come to know and love over many years is now evolving into a modern web and mobile enabled application platform. RTA hosted and SaaS customers first connect to RTA desktop using a technology called RemoteApp which requires a Windows Active Directory Account to authenticate the user and log on the remote computer run and operated by RTA staff. Once connected to the computer, the RTA desktop application launches and the user is presented with a login screen. The user then enters a second username and password and, once verified, the user enters the application.
Active Directory accounts are also web- and mobile-enabled through a technology called Azure Active Directory. This technology allows a single username and password to be used both for connecting to RTA's desktop application via RemoteApp and to the RTA web and mobile applications.
This can be summarized as follows:
| Account Type | Purpose |
|---|---|
| Active Directory |
|
| RTA Desktop User |
|
There are a few variants to this configuration based on how a company administrator has configured the RTA desktop application:
- RTA desktop security is disabled. In this scenario, once the user authenticates to the RemoteApp, all users connect to the RTA desktop application using the built-in System desktop user.
- RTA is configured for passthrough authentication. In this scenario, once the user authenticates to the RemoteApp, the RTA application matches the Active Directory username to an RTA desktop username and applies the security settings for that user as specified in the desktop User Management.
Overview of User Management
Managing users in RTA is a two-step process in order to properly grant a user correct permissions to access the desktop, web and mobile applications.
Step 1: Create a user in the RTA desktop application as outlined in System Security.
Step 2: Create an Active Directory user by following the steps outlined in this document.
Tip
Naming your users: Use the same username for both the desktop and Active Directory users. This will make it easier for the user to remember and allows you to use the passthrough authentication described above.
User Setup
To set up Active Directory users using RTA web application, please follow the steps below. If you need assistance, please reach out to our Support team.
A. Determine an Administrator and request RTA to set up that individual with Admin permissions. Once RTA completes this initial step, the Admin will be able to add additional users by following the remaining steps.
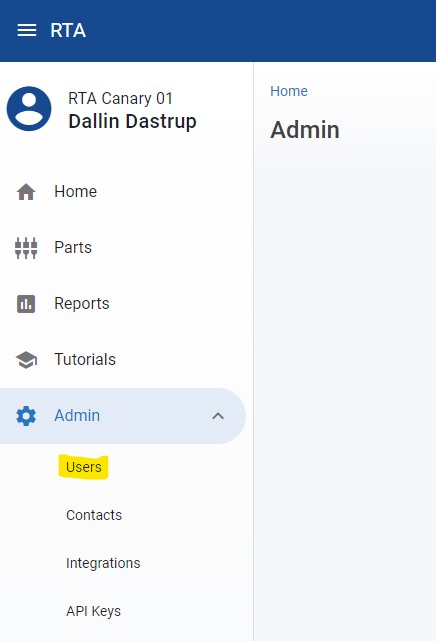
B. Once in the RTA Web app, the Admin will be able to start adding users. As pictured in Figure 3, first select {{Admin}} from the left-hand menu. From the drop-down, select {{Users}}
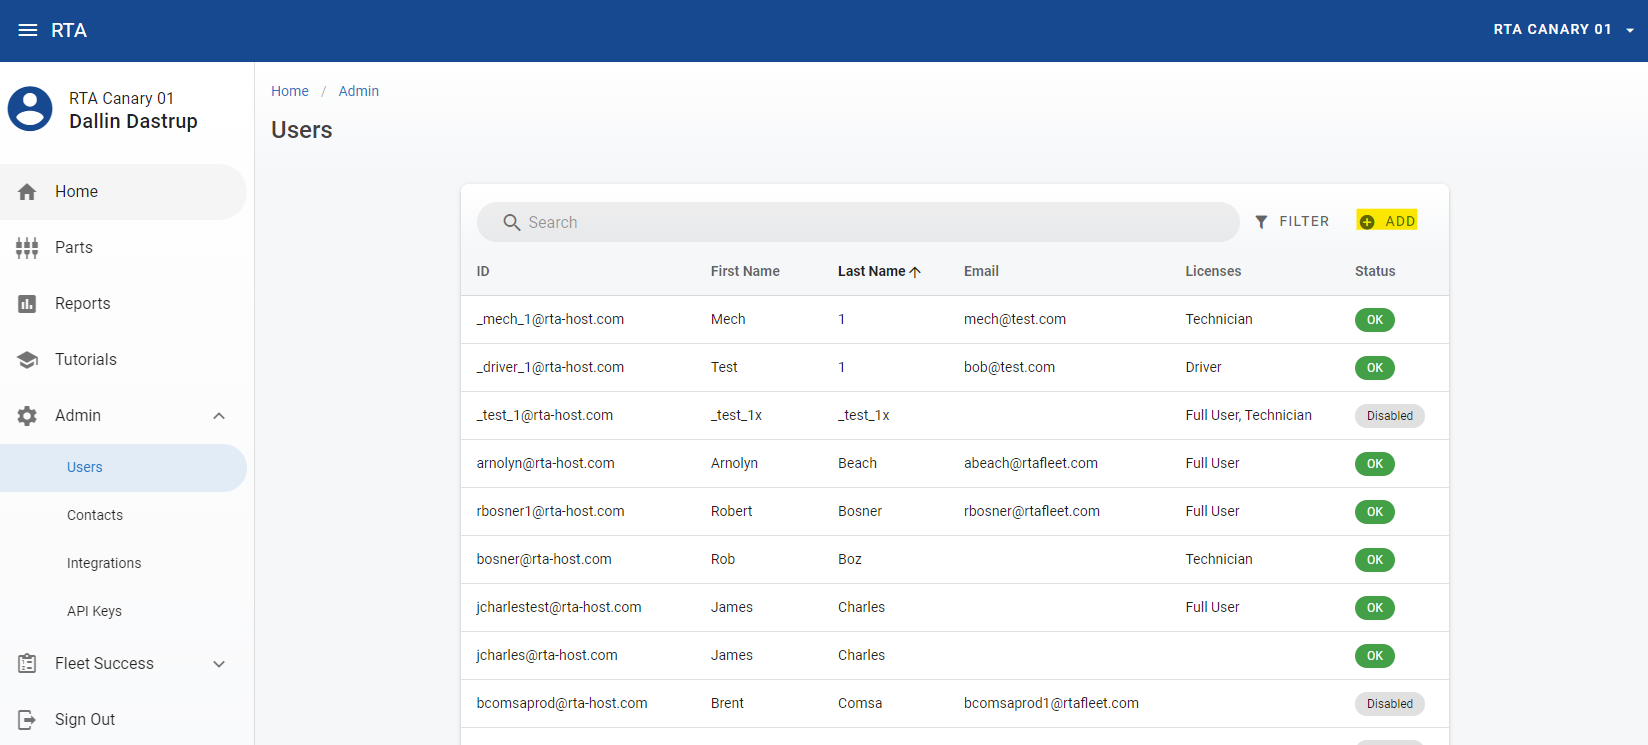
9. This will bring up the Users page (Figure 4). From here, Admins can start to add a new user by selecting “Add.” Admins can also edit an existing user’s permissions by clicking on the user in question.
10. To add a new user, Admins should fill in the fields with the user’s information, as shown below.
Important
Important: Prior to using the web and mobile applications, each user account must be assigned a Desktop Username. If you are using just the mobile app, or are using the paperless shop or driver reports shortcut, you must have a mechanic ID assigned.

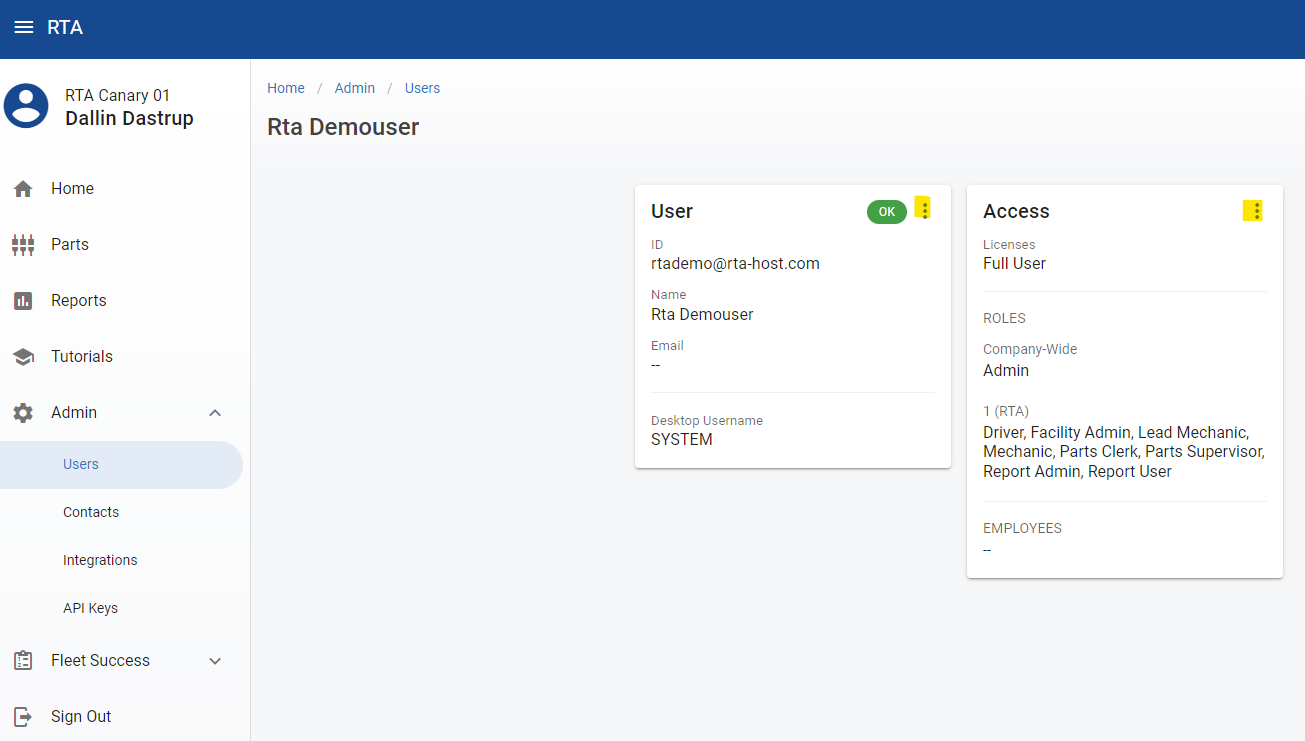
11. After adding the user info and hitting save, Admins need to assign roles and must assign a license. When you go to the 3-dot menu for "Access," it will show you how many license slots you have available. If you have unlimited users, it will also display that.The assigned role determines the user’s permissions. For example, the roles of Manager, Mechanic, Data Clerk, Parts Clerk, Driver, etc., all have varying levels of access. Roles can be applied to a user either globally or individually, per facility. To see examples of how users can be set up with different roles, you can click here
Roles
The roles only apply to the web and mobile apps and not within the Desktop application.
12. For clients with multiple facilities, Admins can select which facilities the user should have access to.
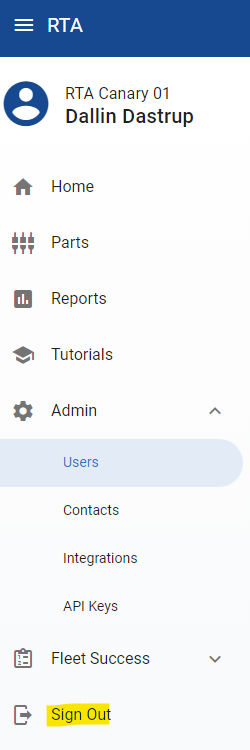
Signing out of the Web Application
When the user is done accessing the application, he or she can Sign Off of the application. To do this, select “Sign Out” from the menu (Figure 9).
Figure 9
If you need assistance using the Web App, or have any questions, please reach out to the RTA Support team.
Multi-Lingual Support
Users have the ability to change the language displayed on the Web App. Currently, English, Spanish and French are available and will be loaded automatically according to the web browser's language setting. In Google Chrome, to change the Language setting, open the browser settings, go to Languages
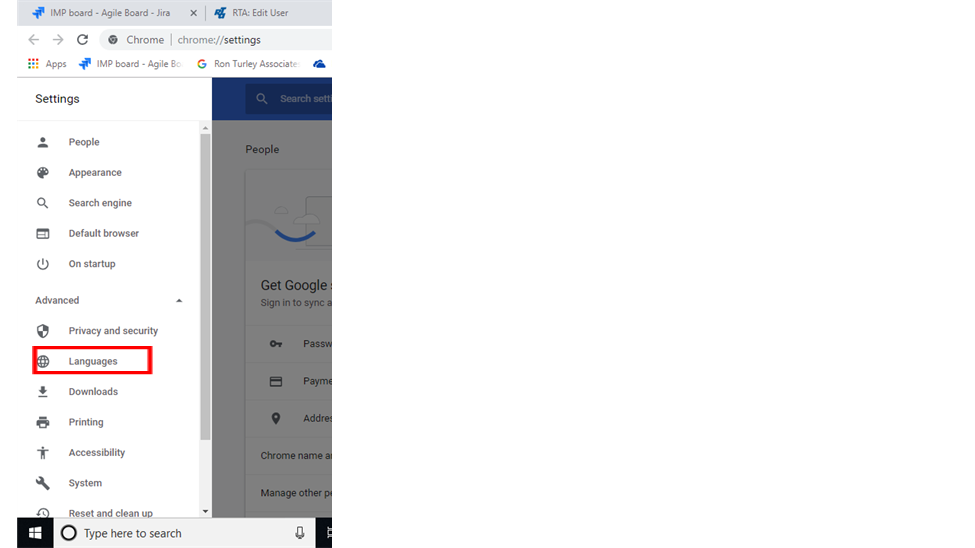
Once in the Languages area, users can choose English, Spanish or French and move it to the top of the Language selection. When the RTA application is loaded, the application will appear in the preferred language.